OK, so here we go again.
A running theme in my building process is budget, I am always trying to build adequate parts myself instead of buying them. This has two goals, 1) Save money, 2) Learn how to create the parts I need so I can replace them as needed, and build more for future machines. This week’s project was couplings, specifically I needed four 1/4″ to 1/2″ couplings. I am modeling my attempt after this: DIY Coupling, and my own prior experience with using 1/4″ brass sleeve bearings for my first machine.
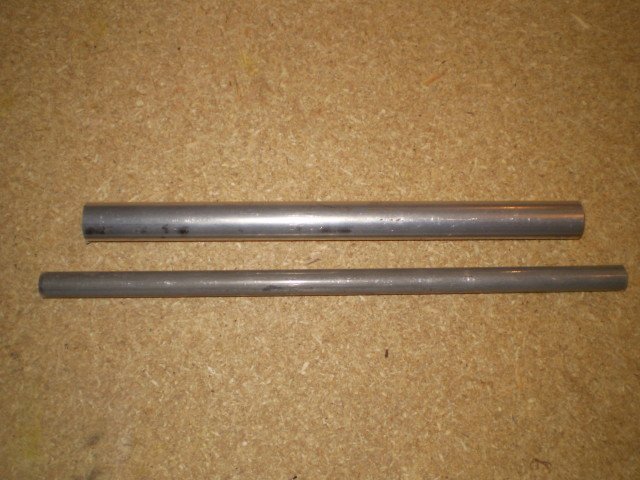
I decided to try and find some aluminum tubes that would fit the 1/2″ acme rod and 1/4″ motors shaft that would also nest inside each other. I found what I was looking for at OnlineMetals.com, and order the following:
0.75″ OD x 0.125″ WALL x 0.5″ ID 6061 T6 TUBE
0.5″ OD x 0.125″ WALL x 0.25″ ID 6061 T6 TUBE
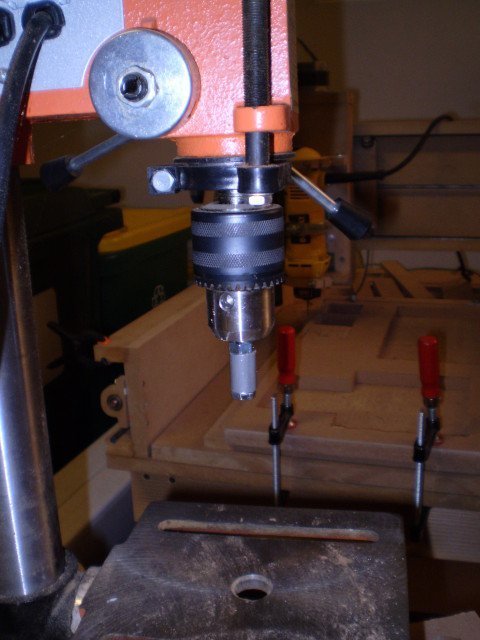
They arrived in a week, I opened the box, took out the tubes and… the 1/2″ OD tube did not fit inside the 1/2″ ID tube… <*despair*> …If I only had one of they little metal lathes I could fix the problem. I have a drill press, and some 1/4″ nuts and bolts, instant vertical lathe, game on.
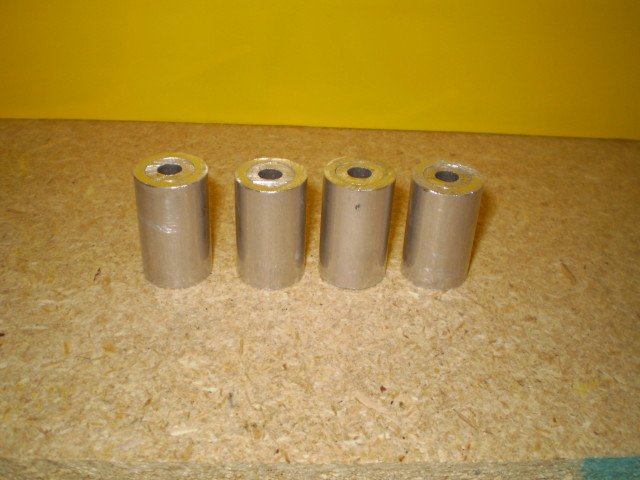
I started by cutting 4 – 1.25″ pieces of 3/4″OD tube and 4 – .75″ of the 1/2″ OD tube.
I then needed to take a little bit off the width of the 1/2″ OD tube pieces. I did this by putting a bolt thru each piece, securing it with a nut…
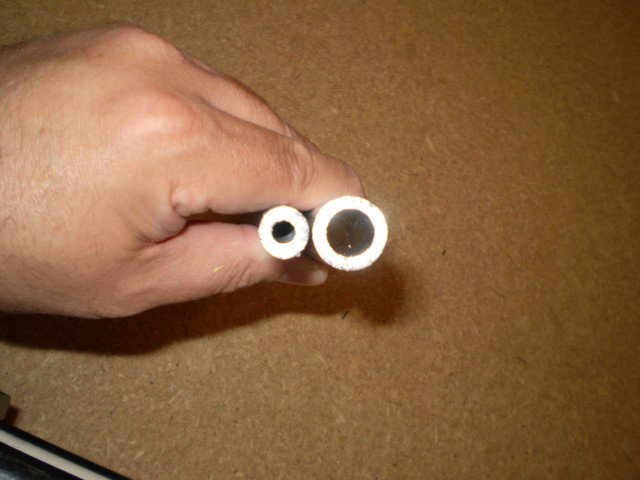
and then placing them in the drill press and using a file to to remove a little bit of material at a time until they fit snugly into the outter tube, I also used a piece of 220 sand paper to give a nice smooth finish.
The pieces now fit together and are ready for tapping.
Did I mention I hate tapping stuff, especially when the taps are small. I got the first one tapped without any issues, but I managed to break the tap off in the second one. The attempt at removing the tap with any/all sorts of gripping tools only broke it to the point where I could not get a hold of it anymore.
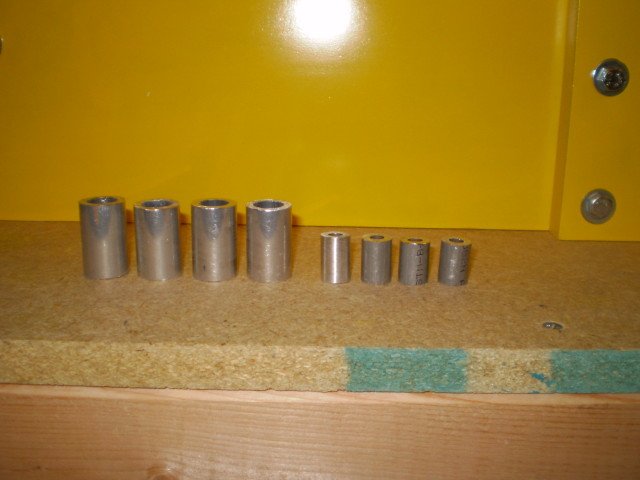
I decided to just cut another set of parts and be done with it, which would have been great if I could have managed to cut straight. I usually use a hack saw and a plastic miter box to cut the few pieces of aluminum I need, which usually works OK, but I did not manage to cut straight on any of the 4 parts I cut that night…argh much bad language ensued. So this is what I ended up with:
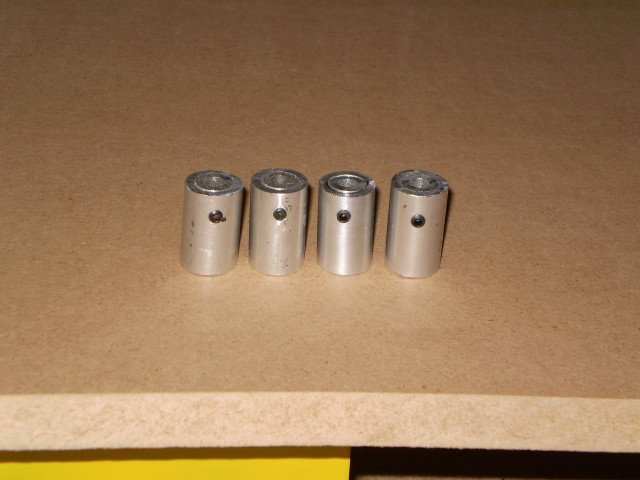
You’ll notice the left most one has a definite lean to it, it really won’t make a difference since the tubes are straight, but it bugs me.
I see a chop saw in my future.
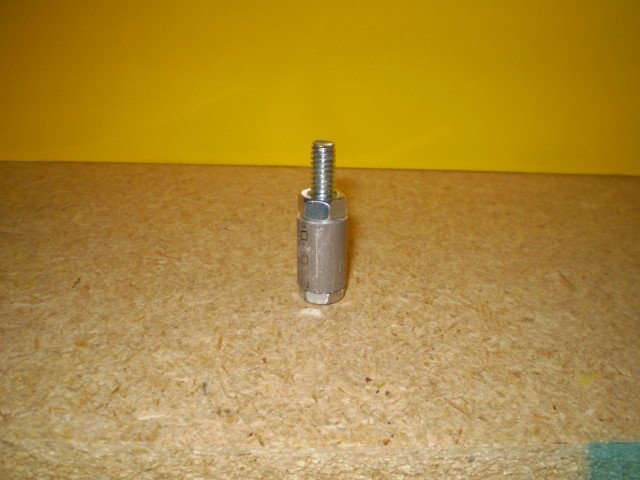
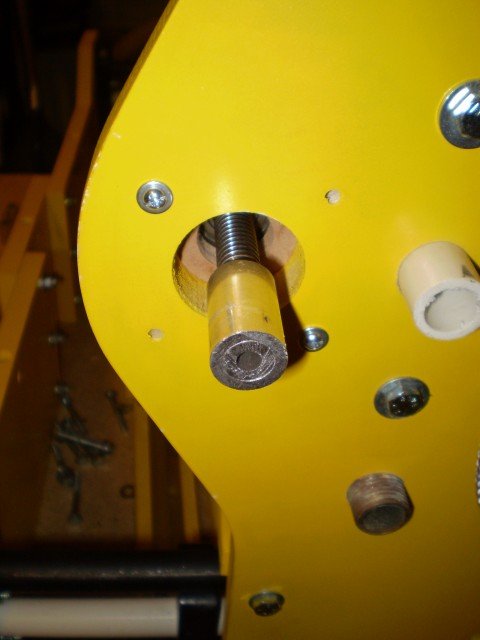
A quick test on the threaded rod and a motor shaft and I am good.
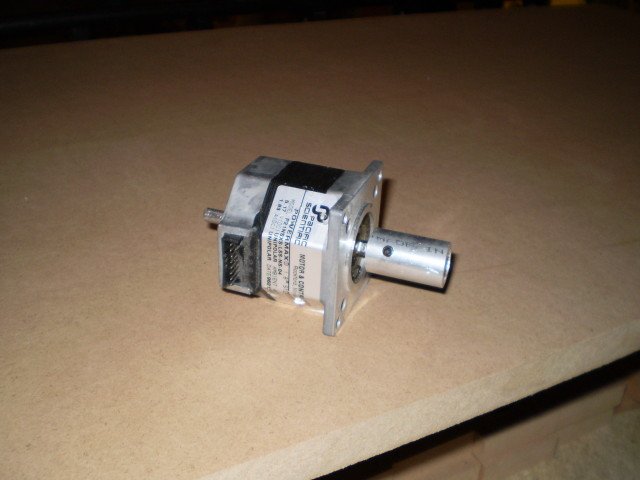
I plan on drilling thru the coupling and rod and using a #6 screw and nut to secure the lead screw to the coupling, which is what I did on the first machine, but there is no reason another set screw could not be used, this particular tube has a nice thick wall, and of course there is always locktite.
Random bits…
I found some 1/2″ ID brass sleeve bearings that a 1/4″ nylon spacer fits perfectly in at my local ACE hardware, I may buy a couple and give it a go. It would cost about $4 a coupling, but that is still cheap, and I think you could get away with no cutting by letting the spacer hang out of the brass bearing a bit (towards the motor). I’ll post the results if I head down this route.
I am also going to try and remove the broken tap, I’ll post how that goes as well.
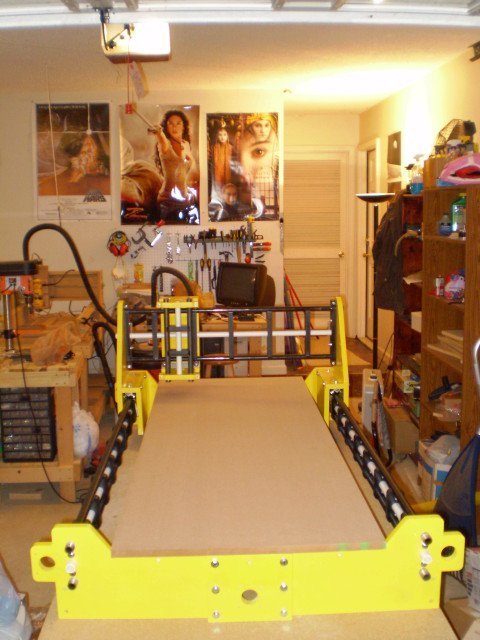
And finally here is a picture of the current machine build with the table on top (just test fitting), the one thing I noticed is that once I add a spoil board I have maybe 2″ for material, which is not what I intended, but will work for now. I will cut out new legs with a lower table once I have this thing operational.
I should be posting another update in the next week or so, so until next time…
Nice work as usual… I especially like the improvised lathe. If you are breaking taps, chances are that the hole you drilled out is not big enough. You should cut the pilot whole with a drill bit the same diameter as the tap diameter minus the threads on it. Did I say that clear, sometimes things make since in my head but not when I write them. I also wanted to give you a heads up, you cannot cut aluminum on a chop saw. Been there… The problem is that pieces of the aluminum will actually melt and fill the voids in your cutting disk making it smooth. But that is not the worst part, the aluminum will then heat up and expand causing the disk to break apart and pieces will go flying everywhere at a very fast speed, ouch! So if you are getting a chop saw, realize it’s mostly for work with steel. They may make special disks for cutting aluminum though, but I’m not aware.
As usual I am jabbering… just one last thing. I like the aluminum couplers you have made and I’ll probably use that technique myself. There is only one small problem. When dissimilar metals touch i.e. aluminum and steel they cause what is known as galvanic corrosion. This just means they chemically break each other down. In time it could cause slack to build up at the coupler or even cause it to break. I say may cause but in fact with enough time it will happen. Still it may not be a significant enough problem to worry about.
O I just thought of something else… if the diameters of the two aluminum tubes are fairly close, you can probably heat up the big one with a small touch causing it to expand and then slide it onto the other piece. Worked in science class 😛 just be careful because aluminum does not change color when heated even when its melted into a liquid, it’s easy to forget its hot ?
I must admit I like checking up on this site to see what innovations will be made next!
Kendalli
Wow your quick Kendalli, I didn’t think anyone was watching this site… 🙂
Thanks for the tip on the chop saw, I would just assume avoid the flying fragments of death. I debated buying steel or aluminum tubes, however since I was going to cut them by hand I opted for the aluminum. Is there something that is designed to cut aluminum? Guess I need to do some research.
The tap is a 10-24 and I used the drill bit that came with it (#25 I believe) so it should be fine. I did the rest of the holes just fine after buying a few additional taps at the local ACE hardware, I just paid close attention to how hard I was turning and backed out a bit when things stopped moving with a reasonable force. I am sure the breakage is related to my tapping technique, I can be a bit of a brute 🙂
I looked into galvanic corrosion, I guess it could be an issue, I have not noticed any issues with the brass couplings I used before, but I have not disassembled them either. I might try wrapping some Teflon tape around the screw and motor shaft before I install the couplings just in case.
I’ll keep the heat trick in mind, it actually did cross my mind, I was just worried about weakening the aluminum, and was not sure if it would expand enough, but I suspect it would have.
I really just have 1 more piece to cut (and paint of course) before I can finish assembly of the machine, hopefully I’ll be able to get the table saw out this weekend and finish it. I won a Rockcliff controller board on ebay, so that should be here soon as well… just got to get another router and I should be good to go.
I can’t wait to finish, I have a few changes/fixes planned, but then I should have a workable set of plans ready.
Thanks for the positive comments, it is nice to know people find this stuff useful since I am not that quick writing them. I am just trying to contribute to a hobby that I am having tremendous fun with at the moment. Once this slows down I have some neglected electronics on my desk I want to play with (Arduino and such) and I want to see how hard it is to build DIY Stepper drivers.
Thanks again,
GrumpyGeek
Metals typically do not weaken from heat unless they are high strength metals such as HSS (high strength steel), UHSS (ultra high strength steel) or boron steel. I know you can heat typical mild steel all you want and you will not hurt it. Not 100% about aluminum but I think I would be fine as well.
To prevent galvanic corrosion in automotive use we put plastic between the two, Teflon tape should work fine.
As for cutting aluminum, I believe there are special blades that can cut aluminum. I know the way I have always done it is to use a band saw but band saws lack some of the advantages of a chop saw.
And yes I check this site every day, I still haven’t finished my first machine but I know my next one will be similar to your new design, nice work!
Any Home Depot or Lowe’s will carry blades to cut aluminum, shouldn’t be more than $10 or $15. They look nothing like the blade that go in a chop saw though. An aluminum blade looks like a wood blade but with fine teeth. You can through on a mitre saw or even a skill saw. Be extremely careful cutting small pieces on a skill saw as the saw could jump or the piece could bind the guard. Also watch out for the aluminum shaving as you could get a very nasty sliver stuck in your finger.
Pingback: grumpygeek.com » Blog Archive » The build goes on…
Pingback: grumpygeek.com » Blog Archive » Problems and solutions