plans

BootstrapCNC Router Plans Released

So this has been a long time coming, but I finally made myself spend a few days cleaning up the plans I had been working on to get them into a state that I thought it was ‘good enough’ to post. You can now find plans for the ‘BootstrapCNC Router 2015’ here:

BootstrapCNC – DIY CNC Router Plans

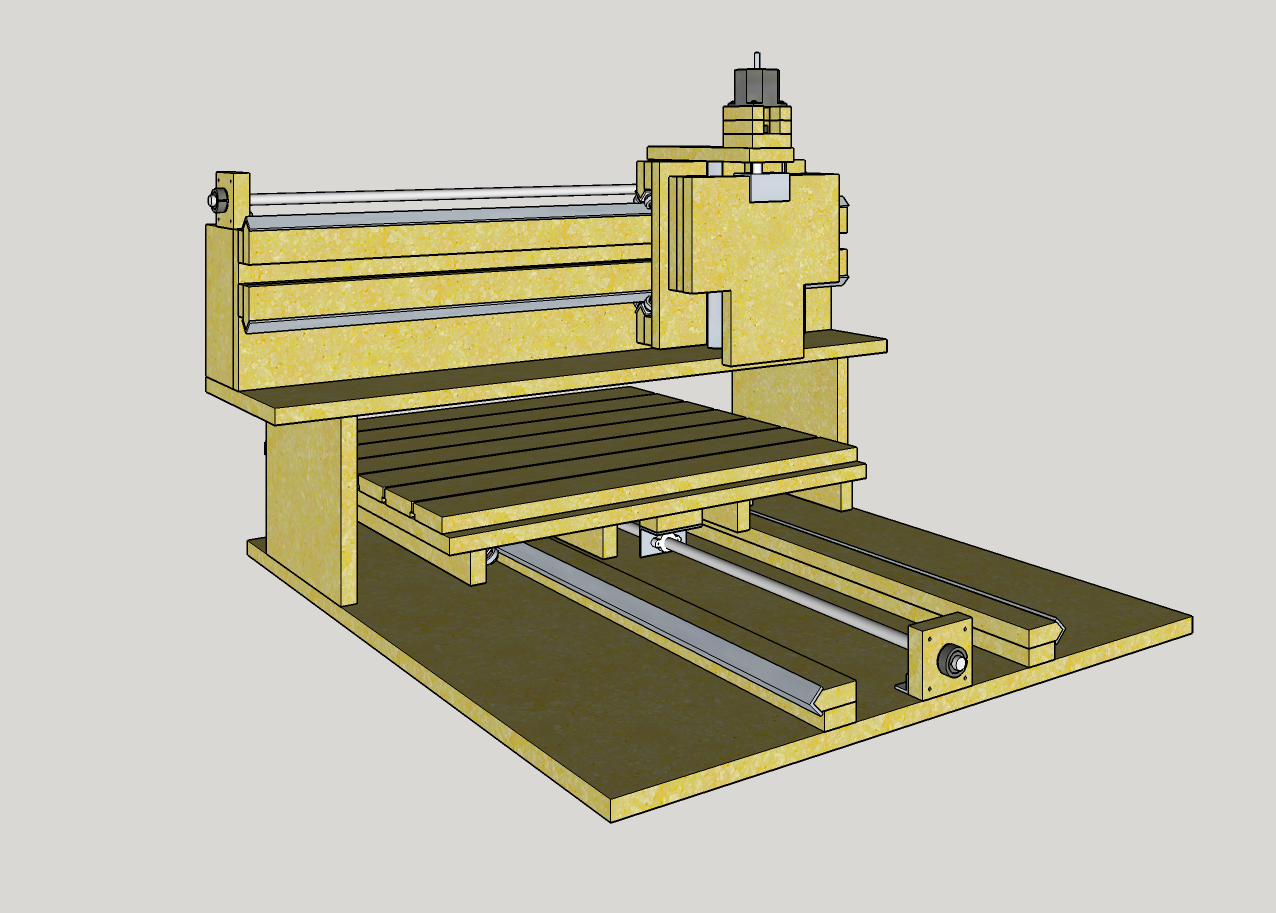
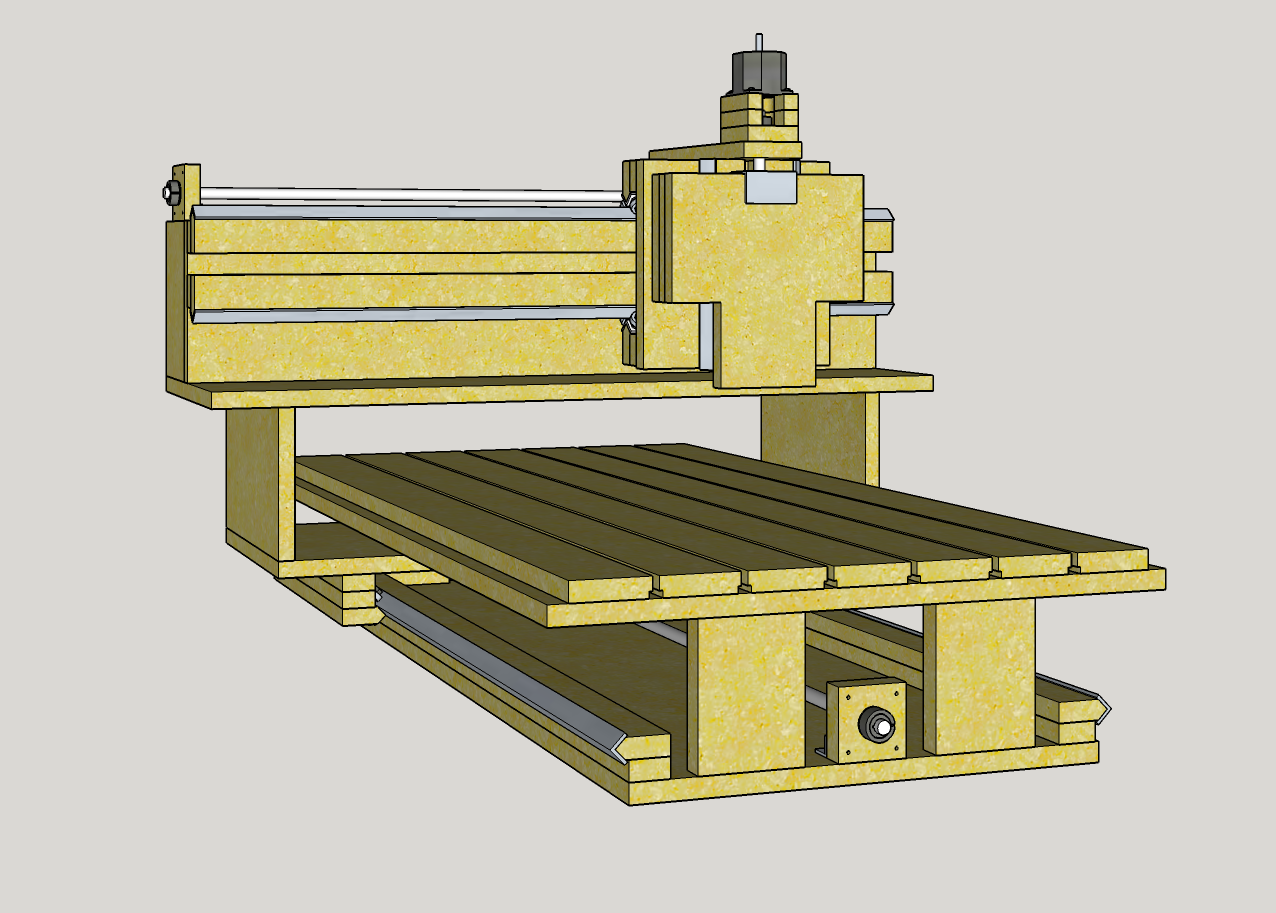
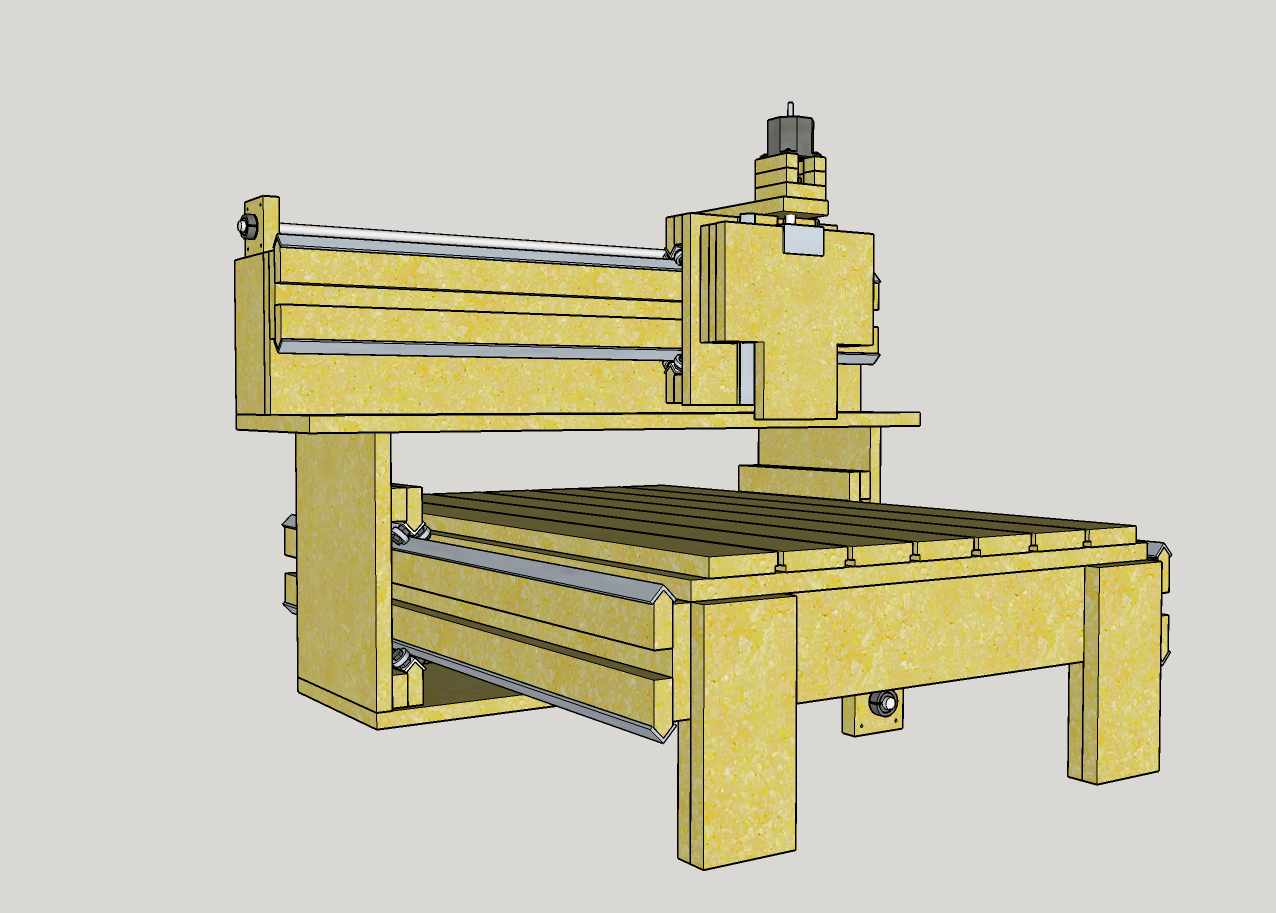
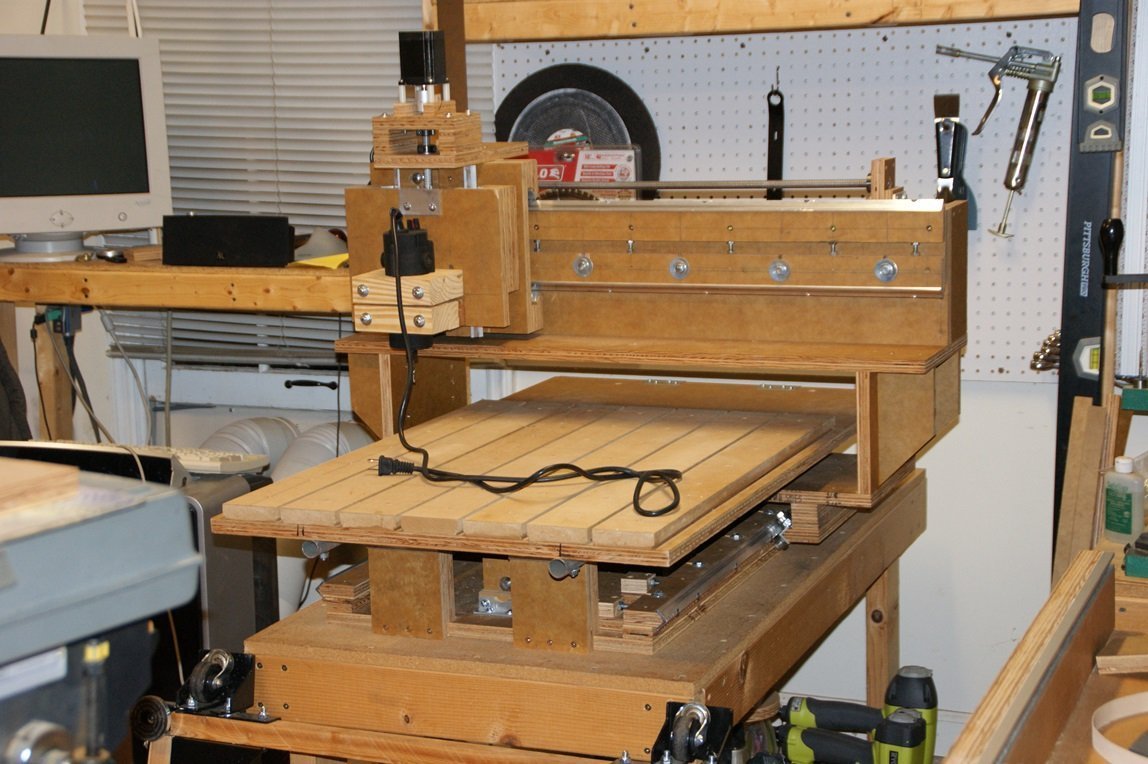
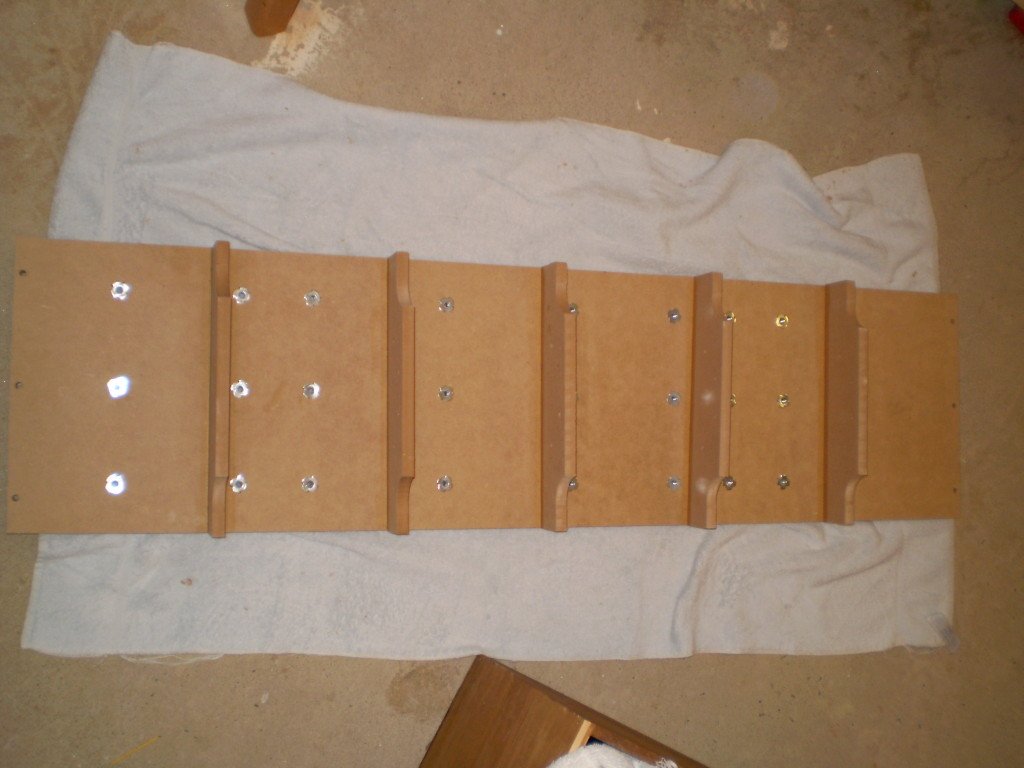
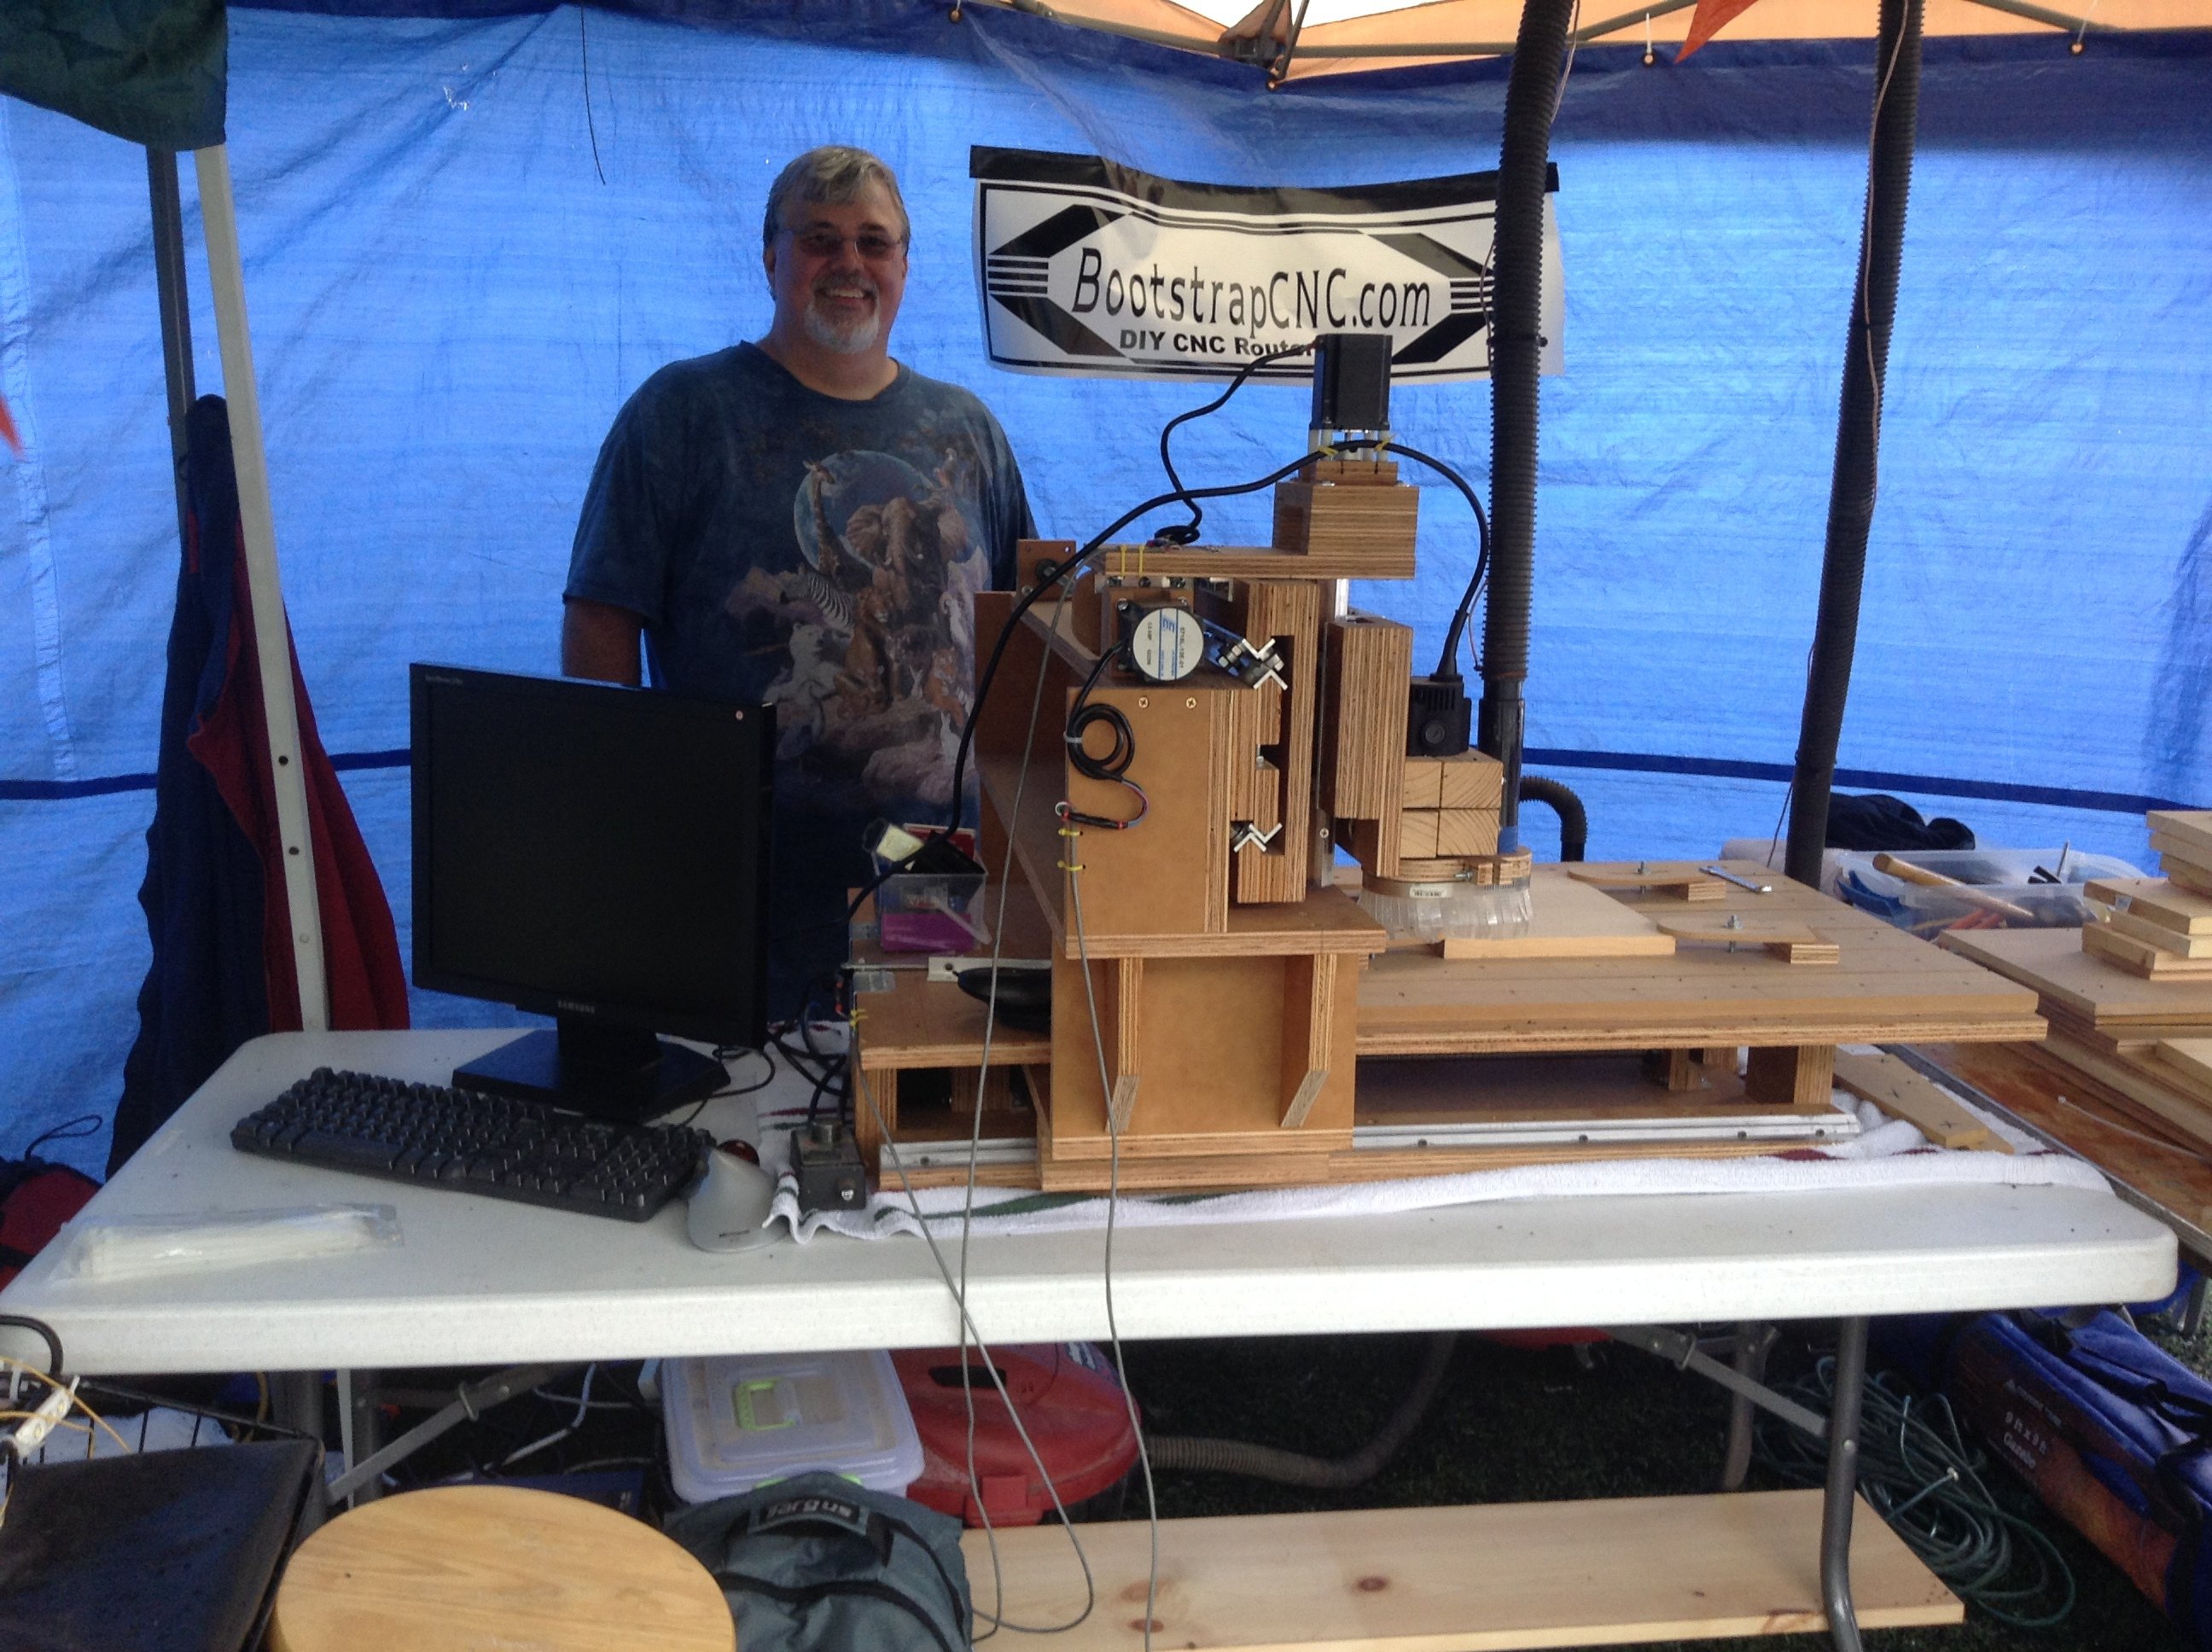
Since the last post I have completed the moving table prototype, it was not in time for the Maker Faire Atlanta. But I took the gantry part of what I had completed and the Flying Gantry prototype and displayed it in the Roswell/East Cobb Makers booth and had a lot of interest. I said I was going to be done the plans in a few weeks… well I wanted too… better late then never?

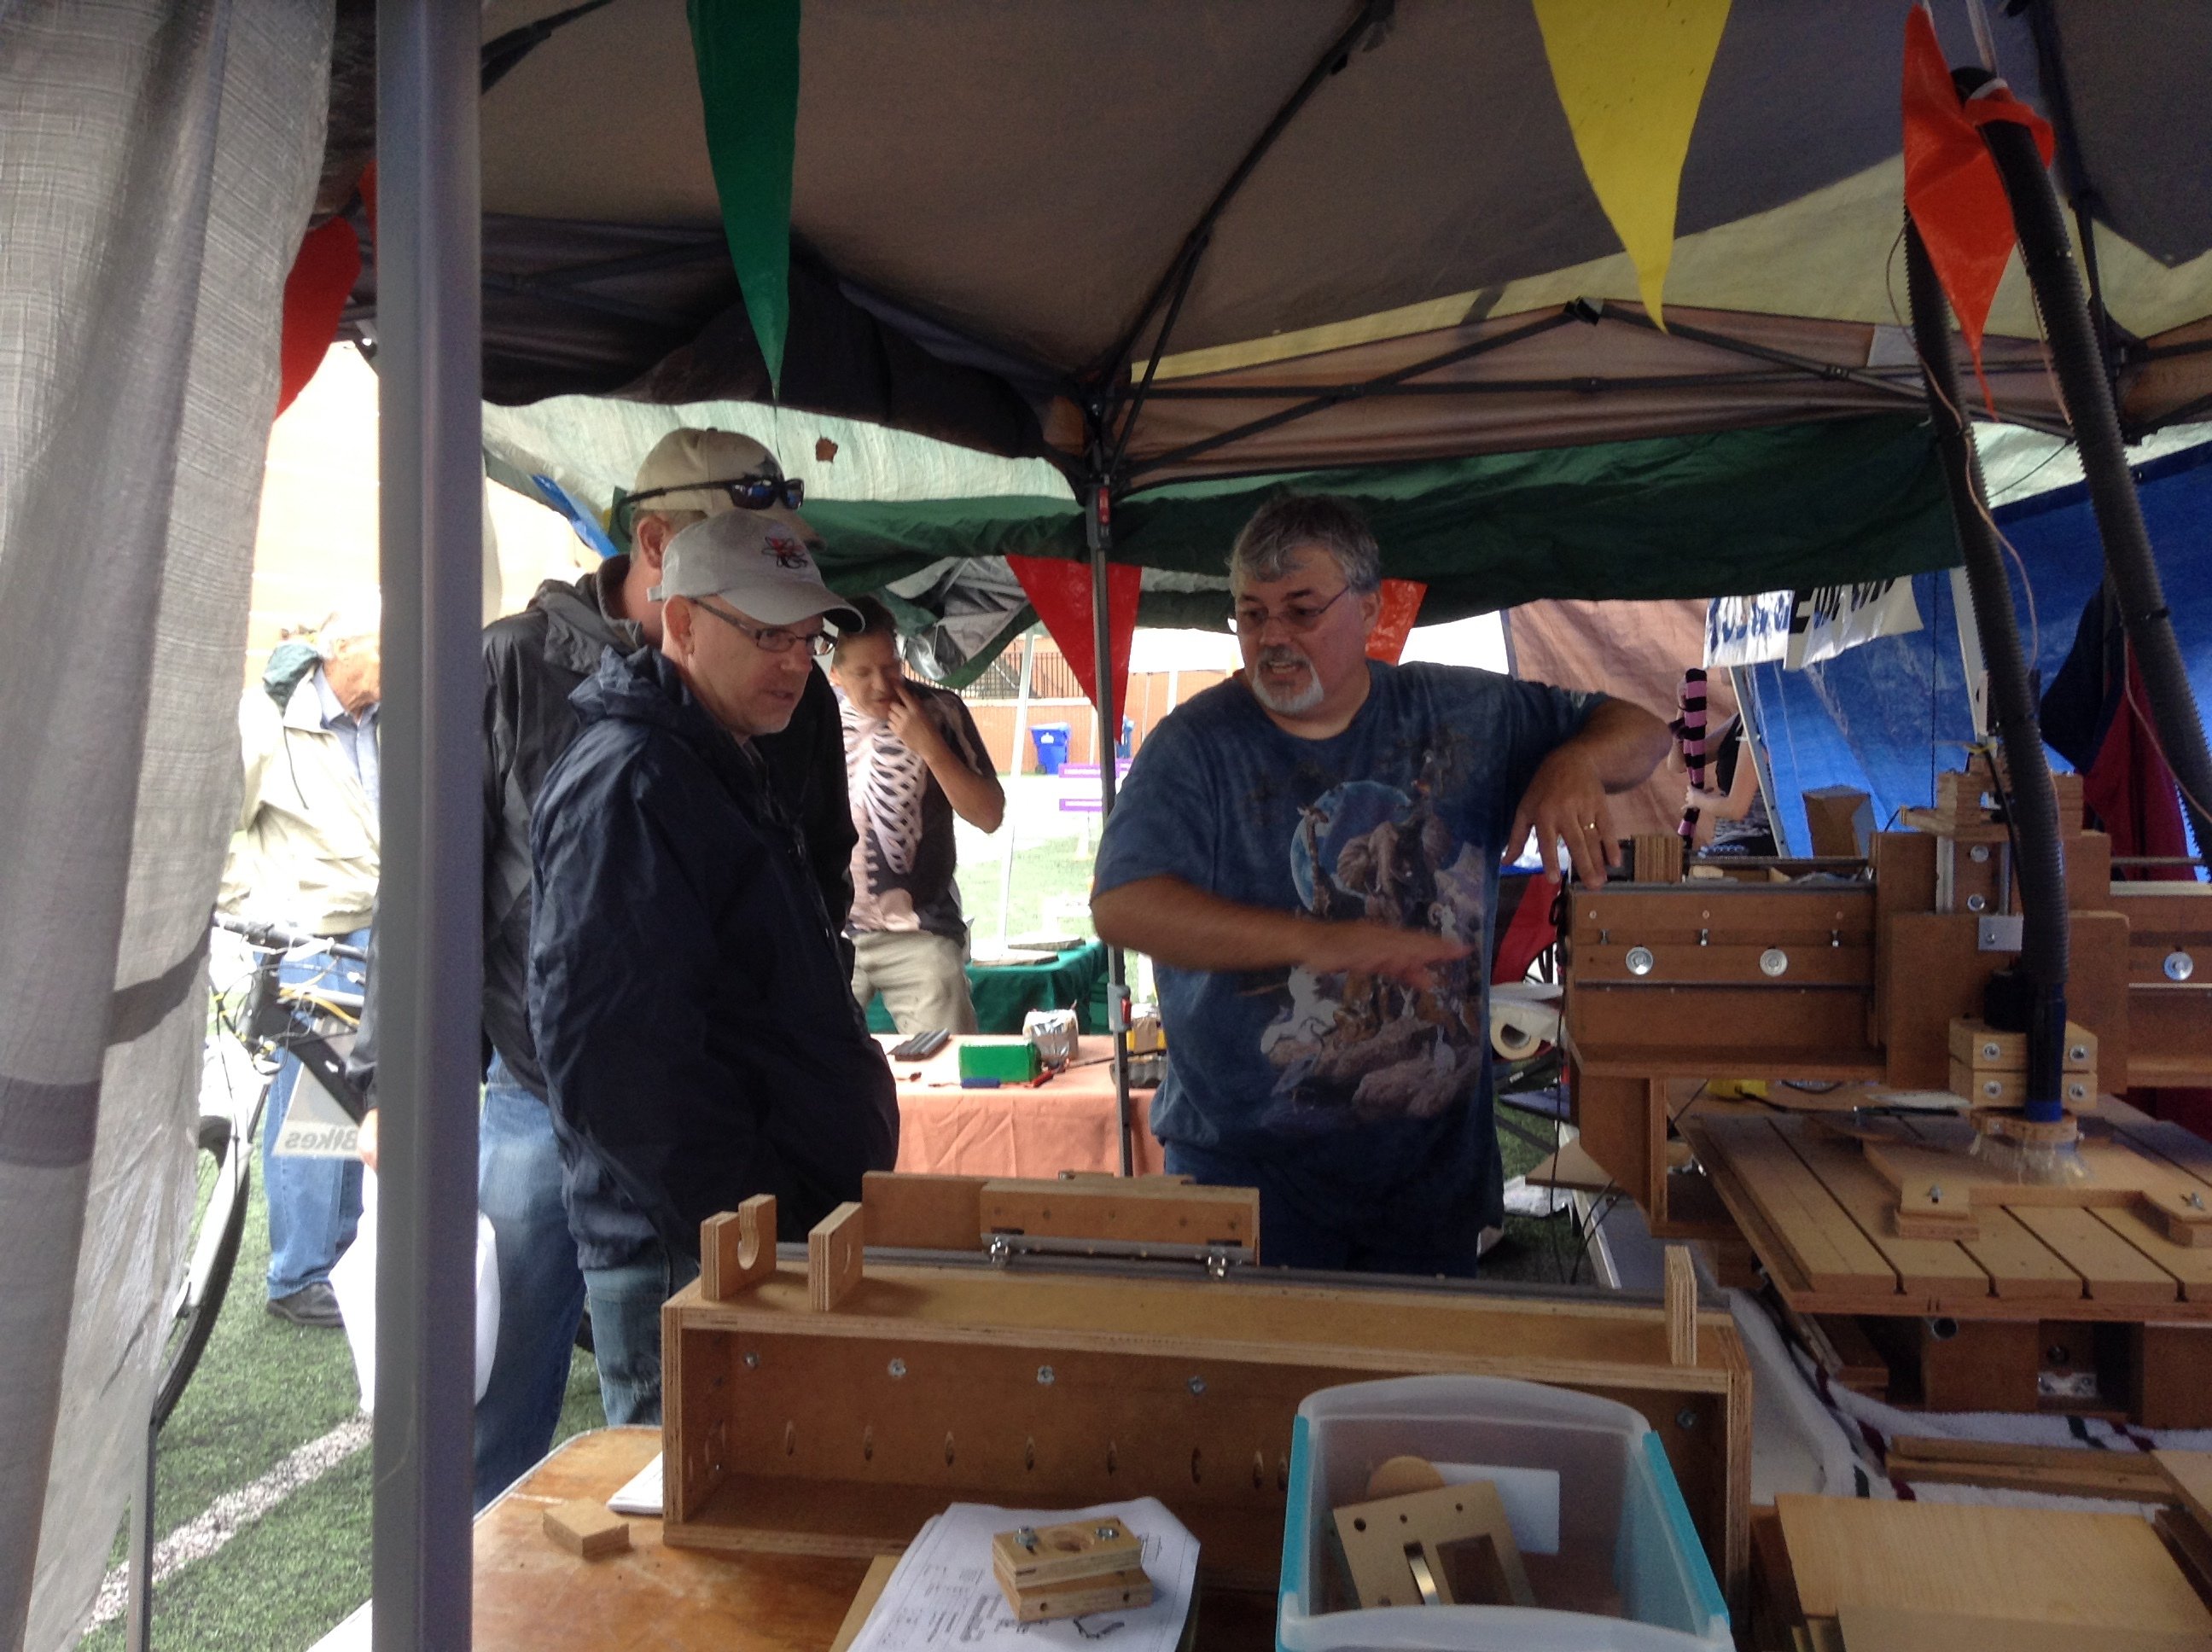
I was so busy talking to people in the booth that I never got a chance to go look around. Due to weather we had to pack everything up and we were too exhausted to set up the next day, but I did get to go back with my kids and had a great day.

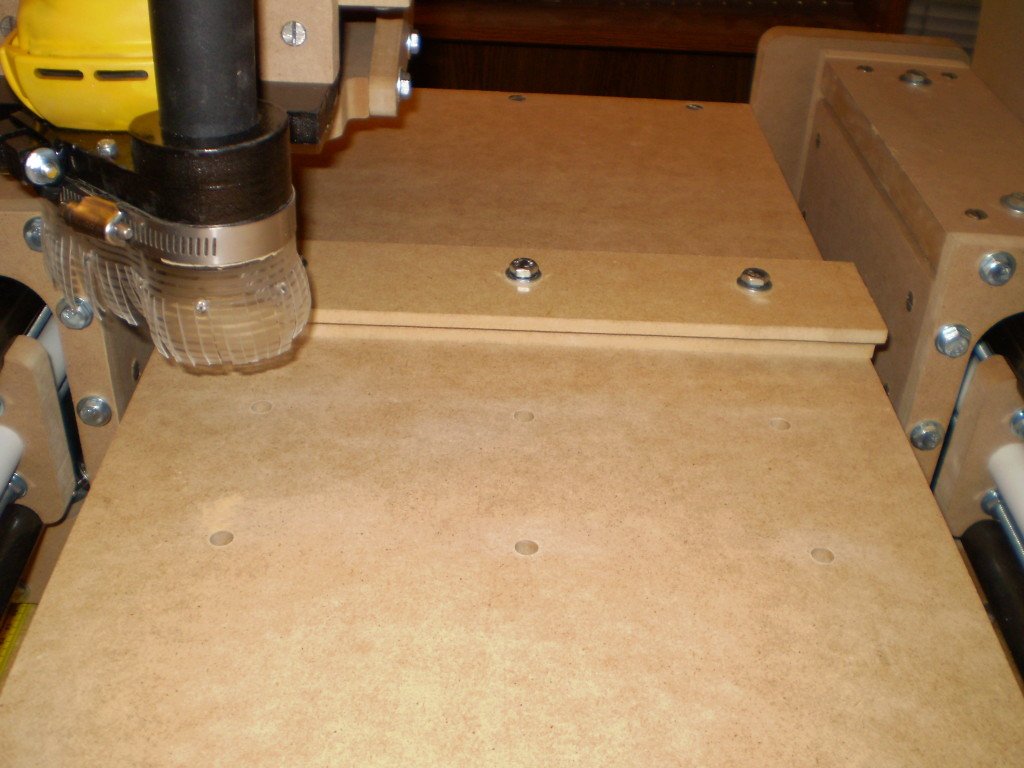
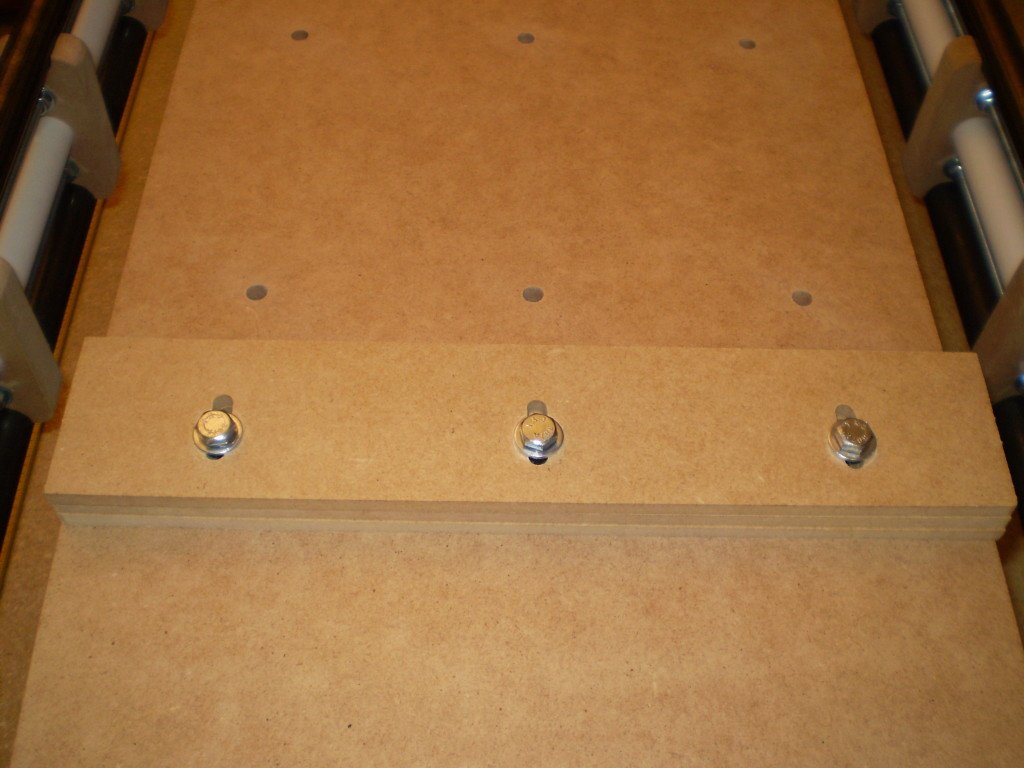
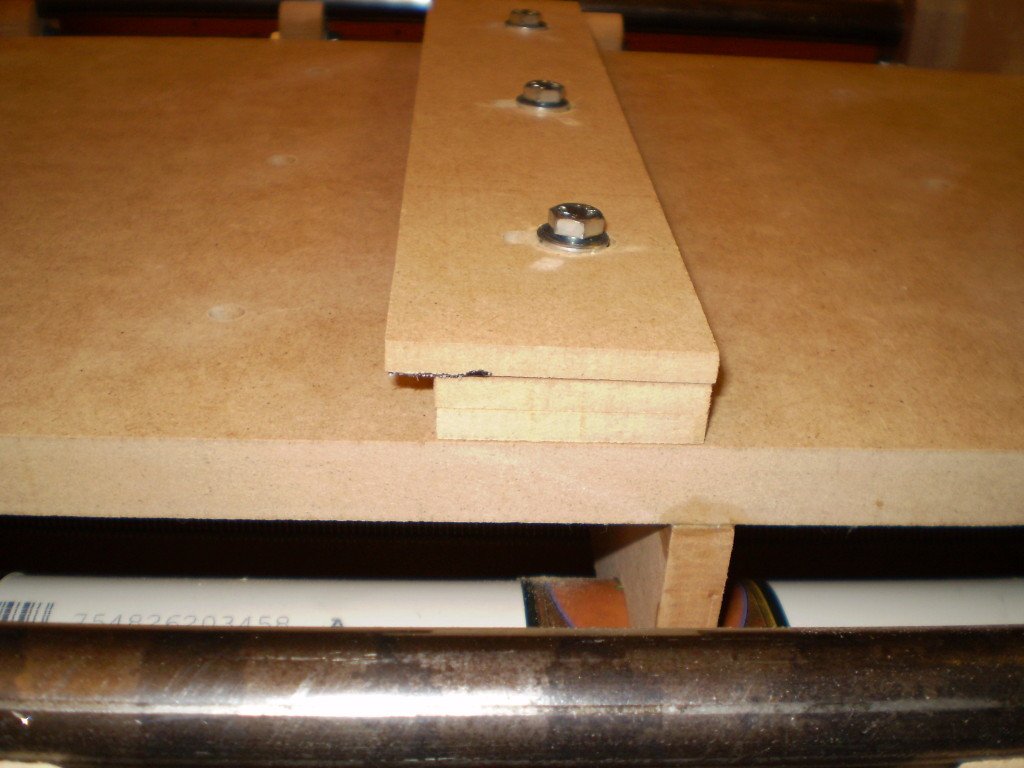
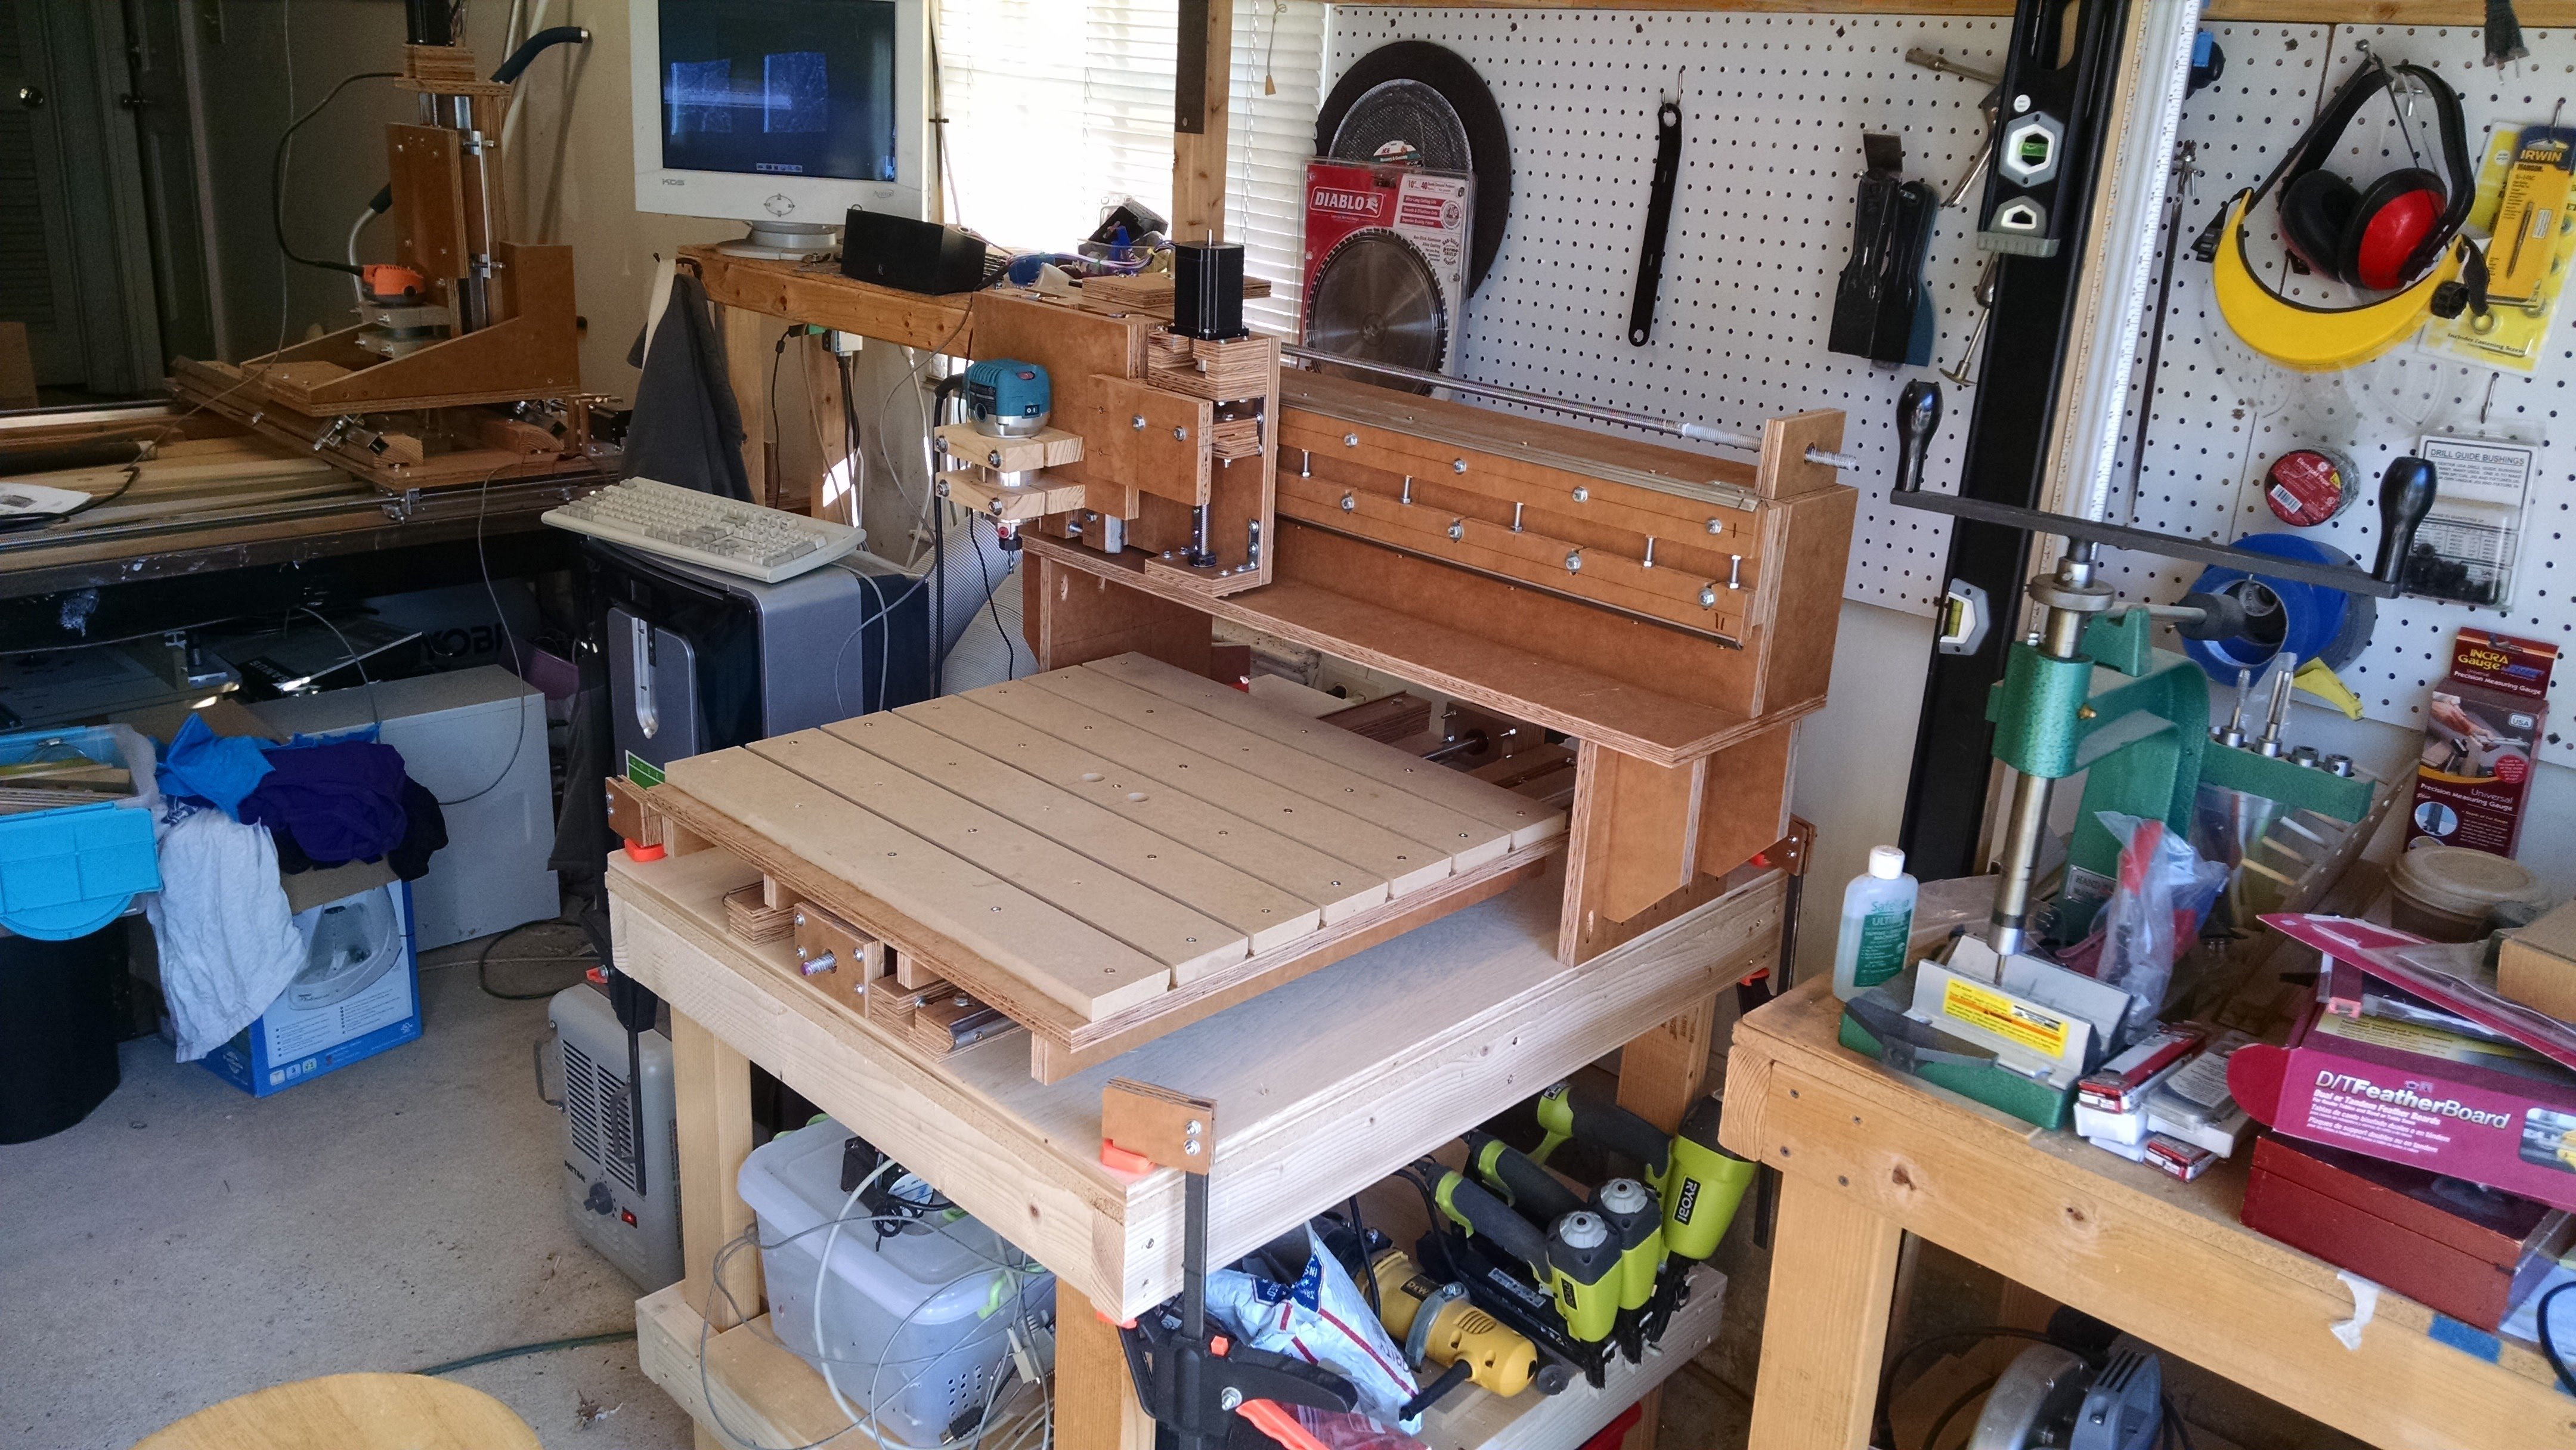
After the Maker Faire, I was sort of cooked from all work that went into trying to get things done and lost the momentum I had leading into the Maker Faire.  I had sometime off in December and on the days that it was warm enough I got back into the garage to finish the moving table machine, and then it was time to update the plans.

Doing documentation is not something I have ever enjoyed and generating plans from a cad file can be particularly difficult when you don’t really know what your doing 🙂  I muddled thru it and the results are what I posted today.  Please let me know what you think, any suggestion for improvement are welcome, and if you actually use them I would love to see the results.

Happy building.

What’s old is new again

I have been building CNC routers for almost 6 years now, I have built 5 machines for myself, and helped a couple of people finish theirs.  The results have been mixed, the Rockcliff machine was a good machine given my skill and budget at the time.  The Black and Yellow Beast was interesting and worked fairly well, and the Son of the Beast 1×3 machine came out very well.  The larger 2×4 Son of the Beast was OK, but the expected improvement over the Black and Yellow Beast was not as great as I had hoped and it was overly complicated.  I started a large (4×8) Unistrut based machine that died before completion.  The next machine (unnamed) was an effort to simplify and resulted in a sturdy machine that is limited in cutting height and dust collection. I have had fun (mostly) building these various machines and have spent enough to have built a really nice machine, so you would think I would give up and just buy something by now.

Well apparently I still haven’t learned my lesson.  The whole reason I started my own design was to build the kit I would have like to have had, and even though we now have new shiny things to play with (3d Printers and CNC Frickin Lasers), I am still plunking away at building an easy to build, cheap cnc router.

So drawing on the words of  Thomas A. Edison

“I have not failed. I’ve just found 10,000 ways that won’t work.”
“Many of life’s failures are people who did not realize how close they were to success when they gave up.”

Here I go again.

… So this post has been sitting as a draft for almost a year, in that year I have built a prototype of the Flying Gantry Design 1 and drawn up a combined set of plans for the Moving Table Design 1 and Flying Gantry Design 1 that I am going to try to release very soon.  I did post sporadically to my Google+ Page, so if you are interested in a few build pictures you can find some there.

My short term goals are to post the plans, post a more detail build entry with more pictures and a cutting video, build the moving table version and document the process, and finally present the plans and the 2 machines at Maker Faire Atlanta. That’s a bit to accomplish in a short period, but historically August to October is my most productive garage time of the year, so here’s hoping.

Clamping and first run of the BS1v2

Well it’s done… well as done as any DIY CNC can be. I really only had to solve the clamping issue and figure out what to cut the last time I posted. The clamping issue was solved by drilling a pattern of holes in the table that I thought would cover most thing I would be cutting (size of material) and using T-Nuts to provide a place to bolt down some simple brackets.

The brackets are made of 1/4″ MDF and you basically adjust the height by adding or removing pieces to match the height of the material, I plan on cutting some 1/2″ and 1/8″ pieces to give me a bit more flexibility in matching different material heights. They worked fairly well, but I am going to add a small lip to them to provide a bit more bite so I won’t have to tighten them down so hard to get a good hold.

The next thing I needed was something to cut, however since I am not starting a new machine (yet), I was at a loss. My wife came to my rescue by asking if I could make a a replacement part for the Jenga game my kids got for Christmas. The original version of the game came with a nice plastic sleeve to help set the game up, but the newer versions come with a cheap and fairly useless cardboard sleeve. A few quick measurements and 15 or so minutes in CadStd yielded a nice replacement, and my first cut video.

I am in the process of cleaning up the cad files a little bit, but my next post be about releasing them to public, just need to figure out what license to use. I am also trying to convince myself that I want to offer kits, but I am apprehensive of such a commitment of my time.  Maybe I’ll have it figured out by the next post.

Scroll to Top
Scroll to Top