For the most part is has been too cold to work on the machine for the last month or so, so I have not made a lot of progress, and I managed to crack part of the Z axis while testing the machine.
First the good stuff:
I decided to mount the power supply and electronics in a cheap storage container, which is exactly what I did with my last machine. I used an x-acto knife instead of a drill this time, and did not any issues with the plastic cracking like I did last time. However using the x-acto knife to drill this many holes by hand did lead to a couple of good sized blisters, there is a better way I am sure. This part is pretty much done with the exception of a toggle switch on the power supply AC so I can turn it off without unplugging it.
I got a little time last Wednesday to work on the machine, so I went ahead and built the table top. It consists of of a 59.5 inch x 24 inch sheet of 3/4 MDF that has (3) 56.5 inch sections of .75 Inch EMT conduit attached to the bottom for support. The conduit is attached by (5) .25 inch x 2 inch screws spaced 13 inches from each other that are counter sunk into the table. The table is attached to the machine using 6 more of the .25 inch by 2 inch screws that attach to 3 cross dowels in each end of the machine. Nothing too exciting, but its another step down.
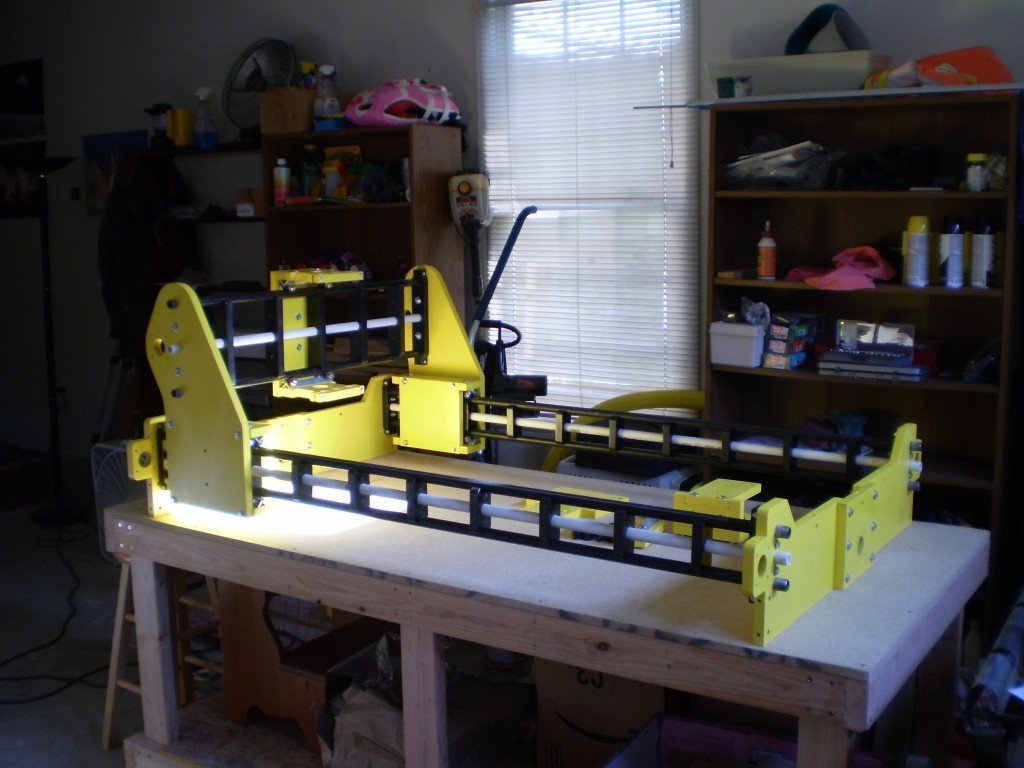
Jordan Sipsip left a comment which among other things asked if I had noticed any sagging of the rails. I really had not noticed any issues with the rails flexing under the weight of the gantry, but I decided to do a quick test. I stacked a number of pieces of wood under the center of the longest rail so that they were almost/barely touching the rail.
Flex Test Starting Position
I then moved the gantry to the edge of the stack and attempted to remove the top most piece of wood… it slid out without any binding at all. While not very scientific, I think this demonstrates the minimal flexing issues I have observed up to this point, and bodes well for the future.
Well thanks to the vacation, holidays, and the drop in temperature it has been about two months since I have done any appreciable work on the machine, but I had a productive day yesterday and thought I would post an update.
I have completed all of the lead nuts and carriers, bearing blocks, and added a support to the bottom of the Y axis to firm things up.
A running theme in my building process is budget, I am always trying to build adequate parts myself instead of buying them. This has two goals, 1) Save money, 2) Learn how to create the parts I need so I can replace them as needed, and build more for future machines. This week’s project was couplings, specifically I needed four 1/4″ to 1/2″ couplings. I am modeling my attempt after this: DIY Coupling, and my own prior experience with using 1/4″ brass sleeve bearings for my first machine.
I decided to try and find some aluminum tubes that would fit the 1/2″ acme rod and 1/4″ motors shaft that would also nest inside each other. I found what I was looking for at OnlineMetals.com, and order the following:
They arrived in a week, I opened the box, took out the tubes and… the 1/2″ OD tube did not fit inside the 1/2″ ID tube… <*despair*> …If I only had one of they little metal lathes I could fix the problem. I have a drill press, and some 1/4″ nuts and bolts, instant vertical lathe, game on.
I finally got back into the garage to work on the yellow and black beast again and I was able to create the first of four DIY 1/2″-10 ACME lead nuts.
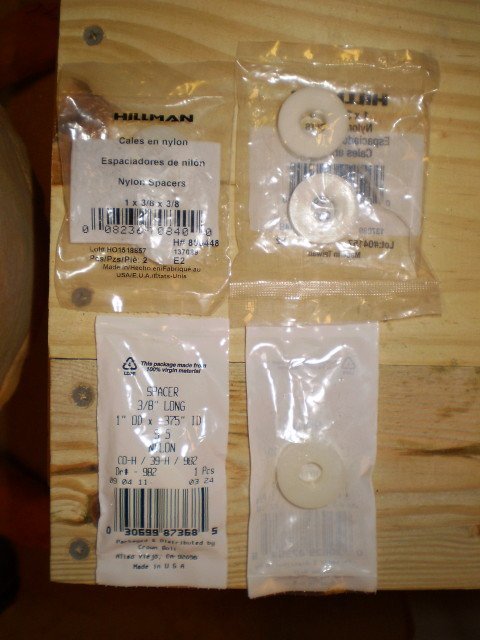
You can find lead nuts starting at ~$7 on ebay, anti-backlash lead nuts from ~$16 from dumpstercnc, and up from places such as roton and other places geared towards commercial customers. I was looking for a cheap solution that I could make myself, and decided to try using some nylon spacers you can find for about 60 cents each at Lowes and Home depot. This did involve buying an 1/2″-10 AMCE Tap, these are not cheap, the best deal I found was on amazon for $35. I could have just bought a cheap set of 4 off of ebay for $28, but I am hoping this will allow me to create them myself and save money on future machines.
I have being playing around with designing a new router since about the start of July 2009, I had actually started cutting out parts for Joe’s 2006, but so many of the larger parts were too big for my current router and were going to have to be joined, that I stopped cutting and starting thinking about designing the kit that I would have liked to have when I was first searching. So after after 6 weeks of prototyping parts, I started cutting out all of the parts for what I hope will be an easy router that can be sold as a kit that would allow someone to get up and running quickly without having to spend a few months building a router with hand/power tools.
I have already veered of my original intent a bit, but if this thing actually works well, I have plans on simplifying a few areas to make it so I can ship a fairly small kit with the end user supplying a number of standard size pieces of lumber, well see what happens with that.
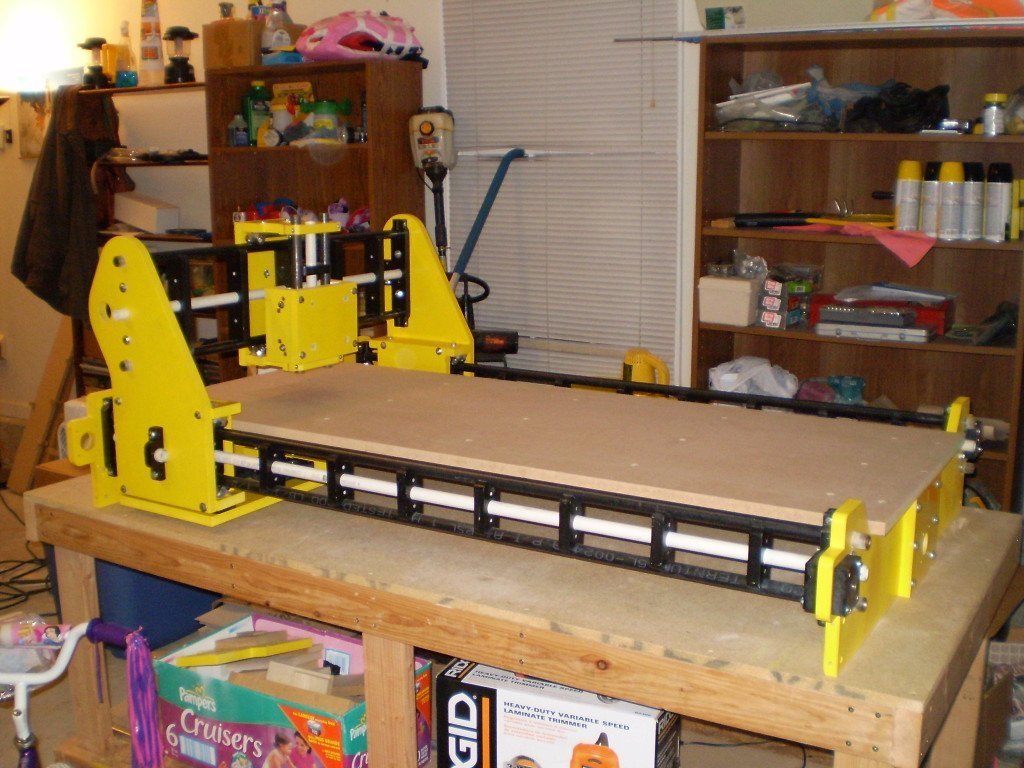
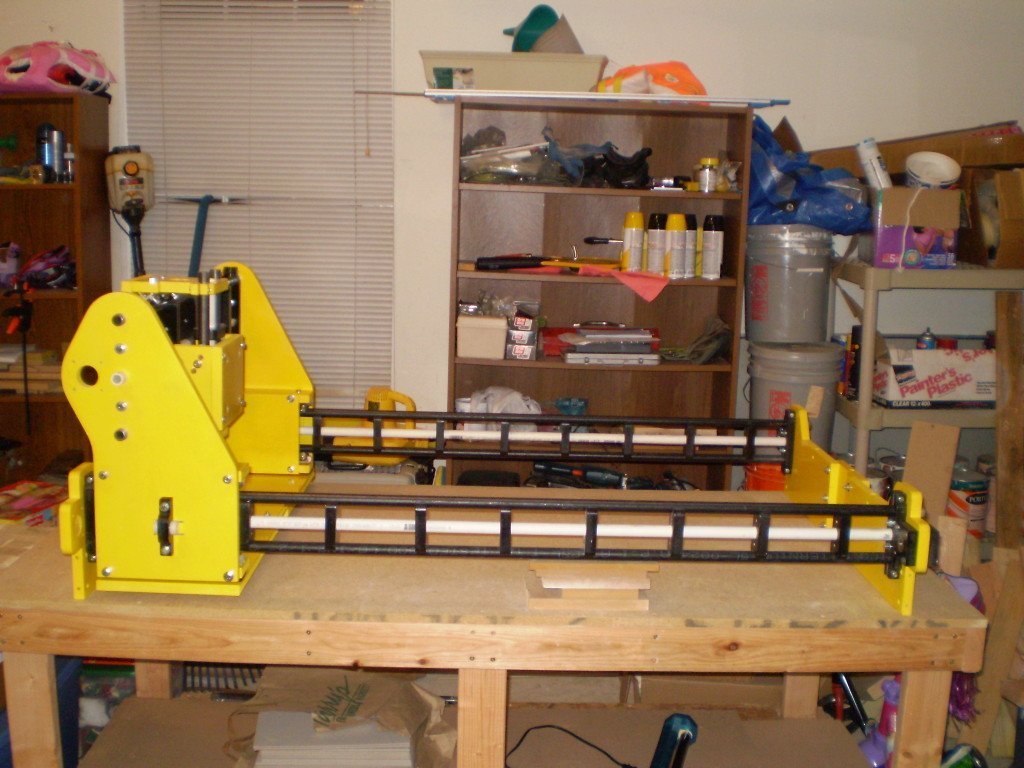
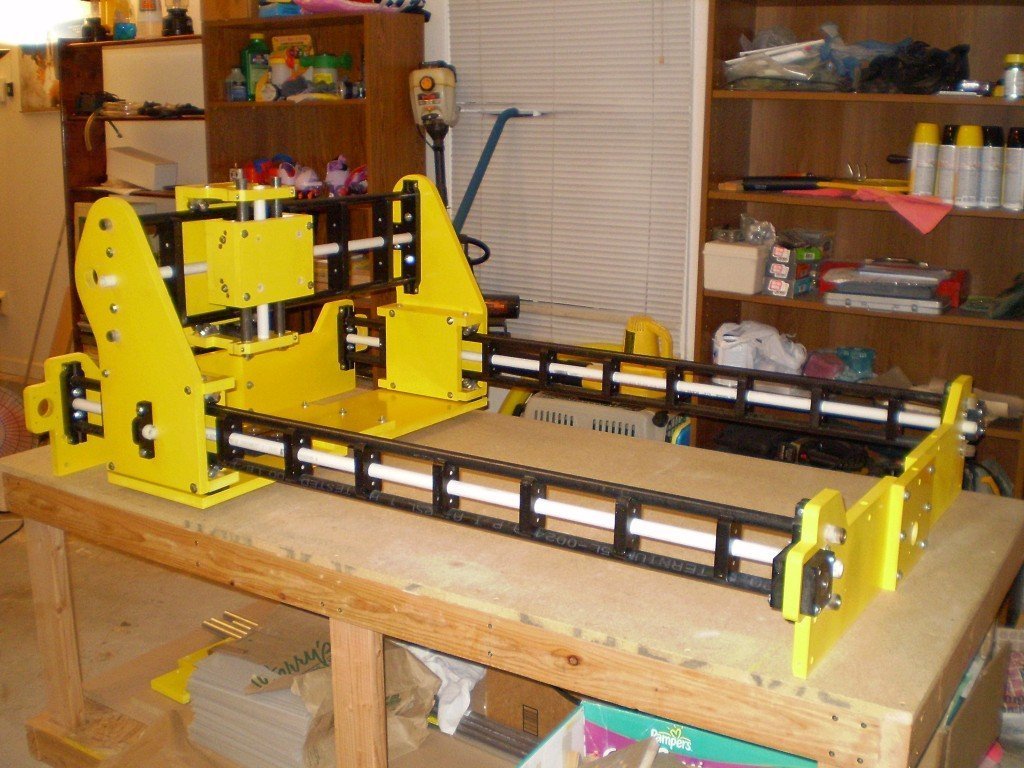
The router is designed to have a 24″ x 48″ cutting area, the machine dimensions are ~36″ x 60″, all the rails are designed to use black gas pipe and roller bearings, as in all things I work on, containing costs is one of the prime objectives.
This is about where I stand at the moment, I just added the z rails right after this picture. I have a fair way left to go, the 1/2″ acme lead screws are here, the 4 270 oz motors are here, I am going to attempt to make my own lead nuts and couplings, so much work still lies ahead, I will do my best to post updates as the major pieces come together.