So having finish the machine I started a little over year ago (2 Years Later…), I thought I would do a quick retrospective to close that project out so I could start the next one clean.
The Good:
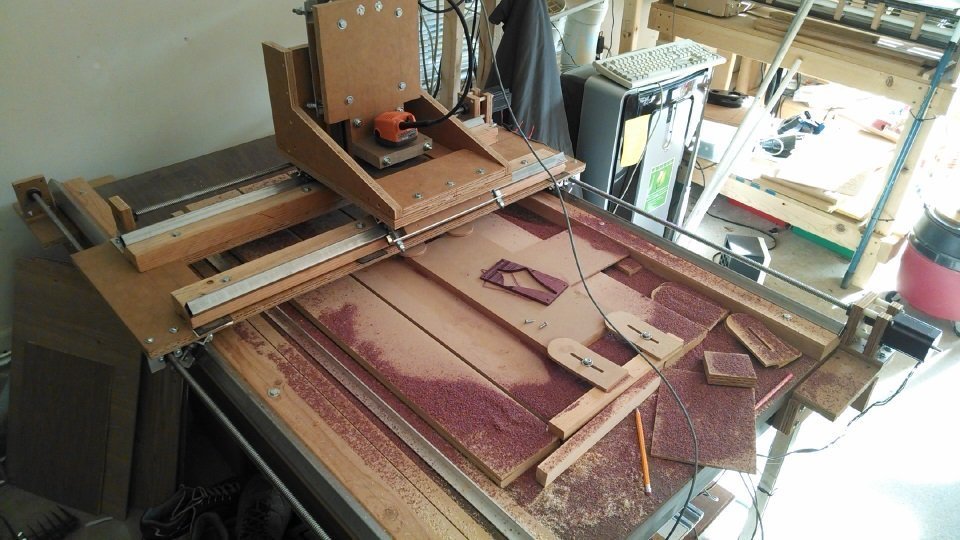
Finished Machine – It took me a while but this is the 5th machine I have built.
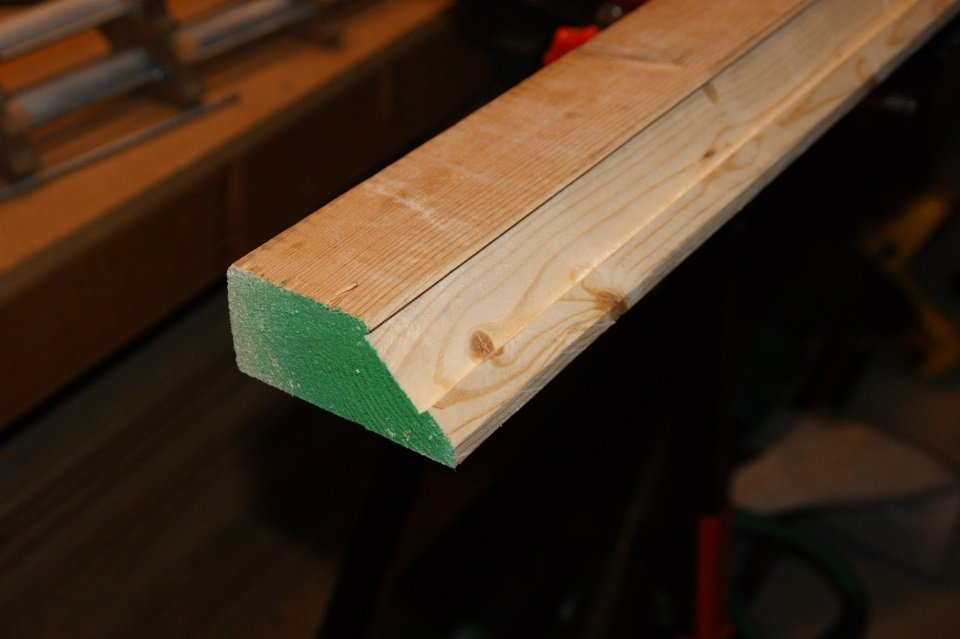
Rails worked well – I had a few issues with the bearing rising up while traversing the rails, shimming to make them parallel and adjusting the bearing tension got this under control, thought the z still rises a bit at the very top. I think this would be less of an issue if I made another set, my method of construction has been refined to produce better results.
Clamping table and table leveling worked well – I opted to create a clamping table from MDF, used only the table saw and 1/4″ spacers to separate the planks. Leveled the table with a 1″ flat bit and glued 1/4″ layer of MDF to the top. The idea is that when you scar up the table too bad, you re-level it and glued another layer of MDF on top. Got this idea from a video CNCNutz posted on YouTube.
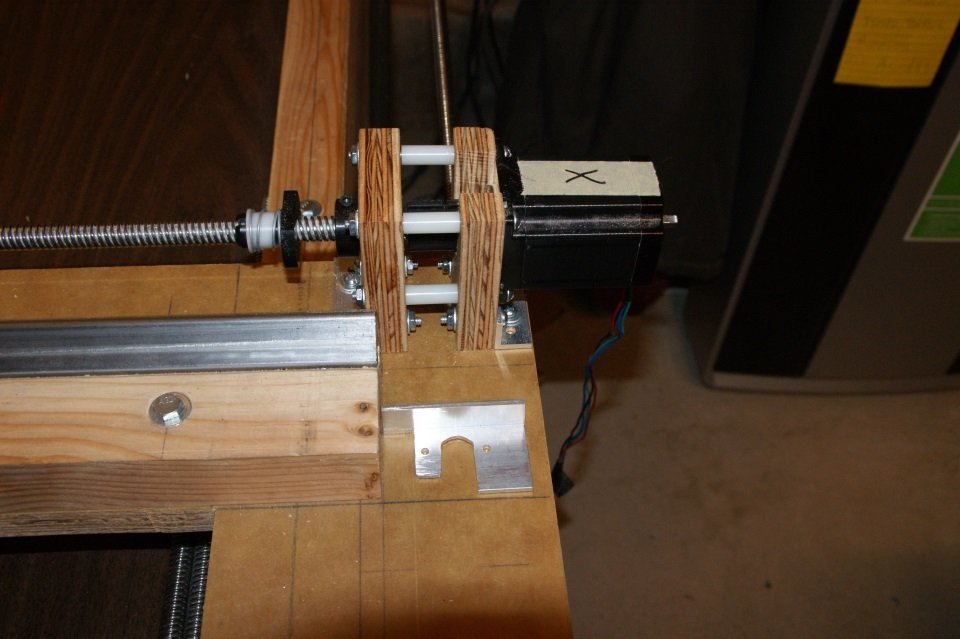
Z Axis worked better than I expected – Ended up being much simpler than I expected and very sturdy (for wood).
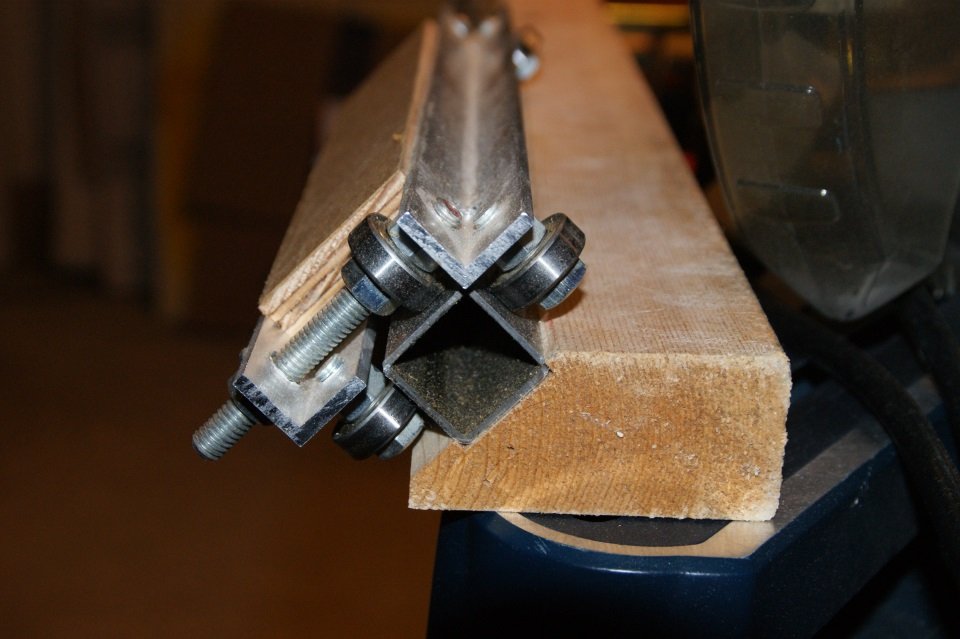
Aluminum angle for lead nuts worked well – They were a little difficult to make, but the 1.5 inch aluminum angle I used for lead nut mounts really worked well.
Strongest machine I have build so far – The machine is very sturdy, very little flex in the z axis compared to all of the other machines I have built. Due to the 1 piece design of the gantry, less likely to break something if long axis starts to rack which happened a few times while tuning the machine.
The Bad:
Didn’t post much about it – posted a few YouTube clips (they are pretty awful) and slapped them on the end of the previous post (2 Years Later…), but didn’t post any other progress reports.
Rail didn’t work so well for Paul – My friend Paul tried a variation (different way of adjusting tension) of the bearing design on a 4×8 he was building and had issues with the bearings rising as they moved along the rail. His design was quite different and the 1″ square tube was less perfect than what I got from the big box store. I ended up recommending he go with a more traditional (commercial) bearing and rail since it was for use in his business.
Tuning of long axis- Had issues tuning the long axis, I was able to run 1 side at 120ipm without any issues, but the other side kept stalling, ended up being different power settings on the motor drivers.
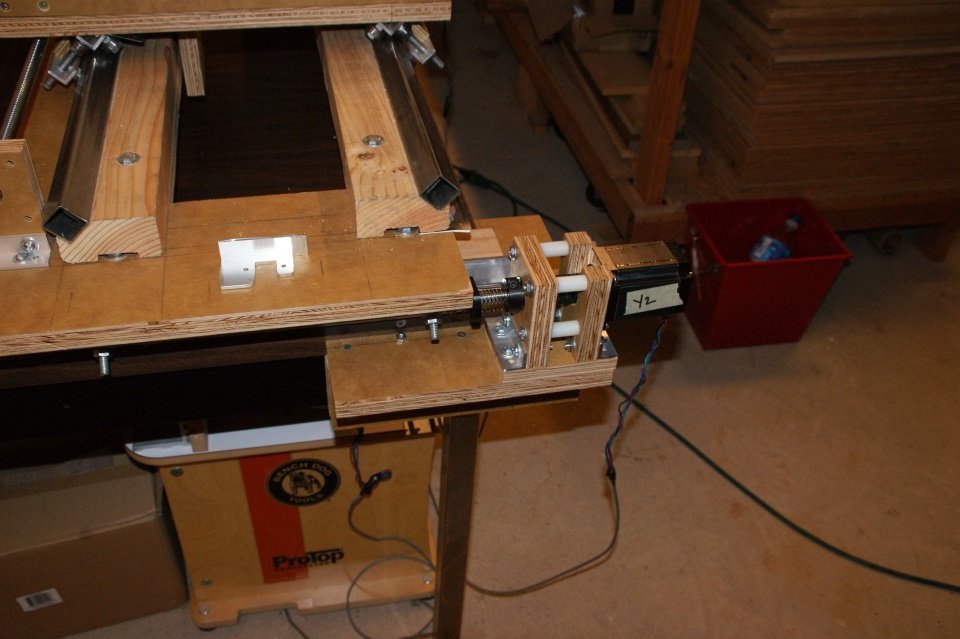
Could have made mounting the motors easier by extending the side of the table – I built these shelves to mount the motors and bearings on, I later realized it would have been much easier to extend the table width with a spacer under the long rail.
Lost x/y size due to motor mounts – Didn’t put enough thought into the lead screw and motor mounts, had intended to have the gantry and carriage pass over the motors, but there was not enough clearance so I had to settle for ~22″ x 44″ instead of 24″ x 48″ (with lead screw travel to spare). Would have noticed it if I had modeled it in Sketch Up first.
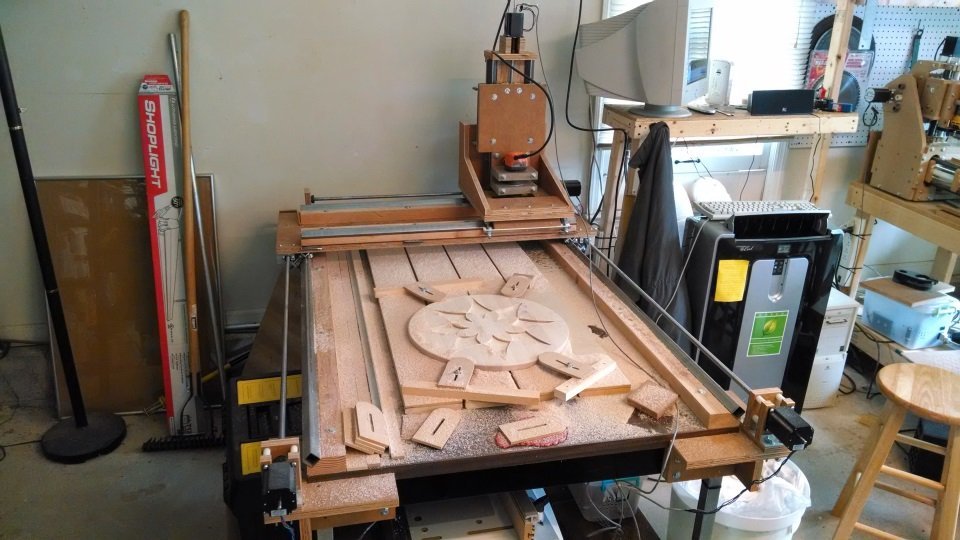
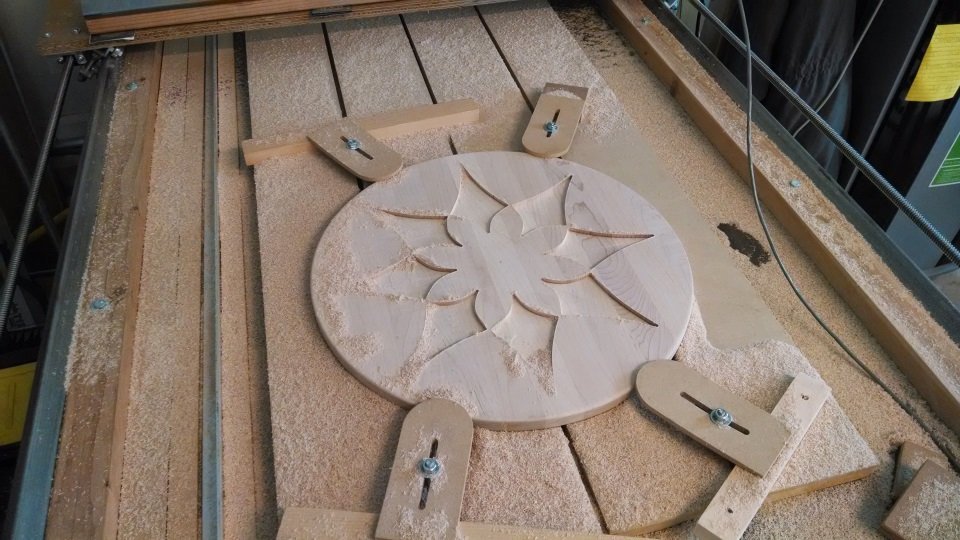
Vacuum/dust attachment is problematic – I made a simple dust attachment for the machine, but I lose y travel when using it. Due to the limited space between the table and the bottom of the gantry and the design of the gantry other options are limited.
Conclusion:
The machine works, I would say that it is better and simpler than the 2 others I designed. I think the rail concept, while not super easy to make is worthy of further development. But I still think I can do better.