General

General postings usually pertaining to topics of miscellaneous origin

6 Week Progress Report

So right after the last post I did a bunch of work in about two weeks and was to the point were I was just about ready to run, and then nothing…  this update has been sitting in draft mode for 2 weeks so I decided to force myself to finish it tonight, so here we go.

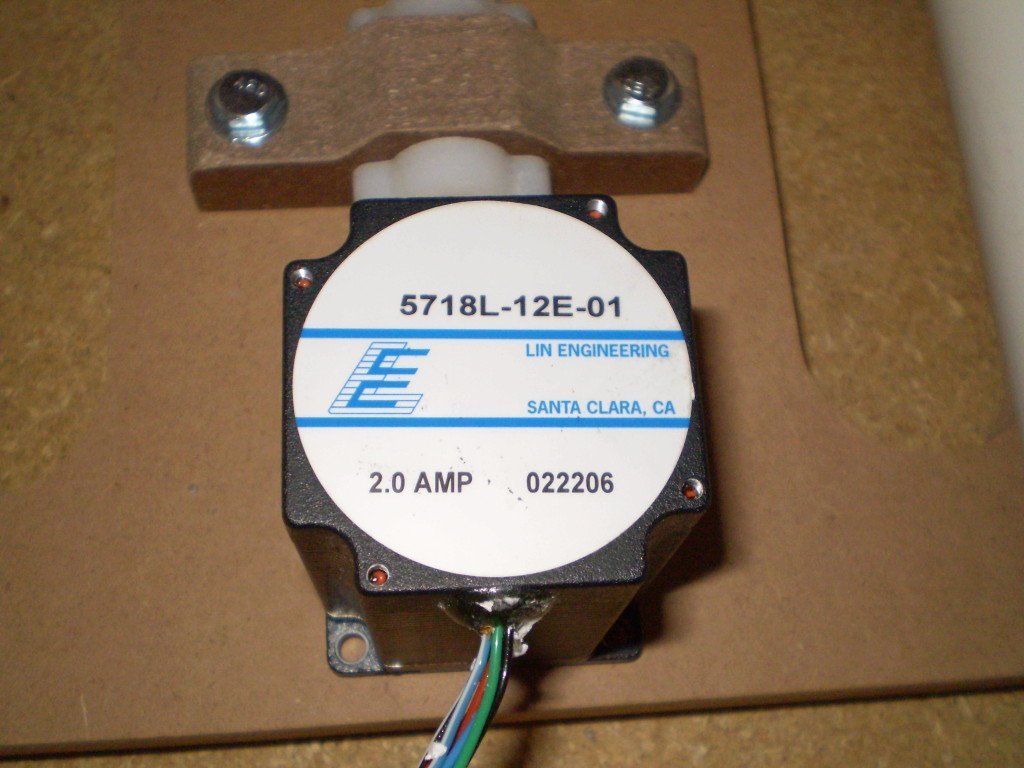
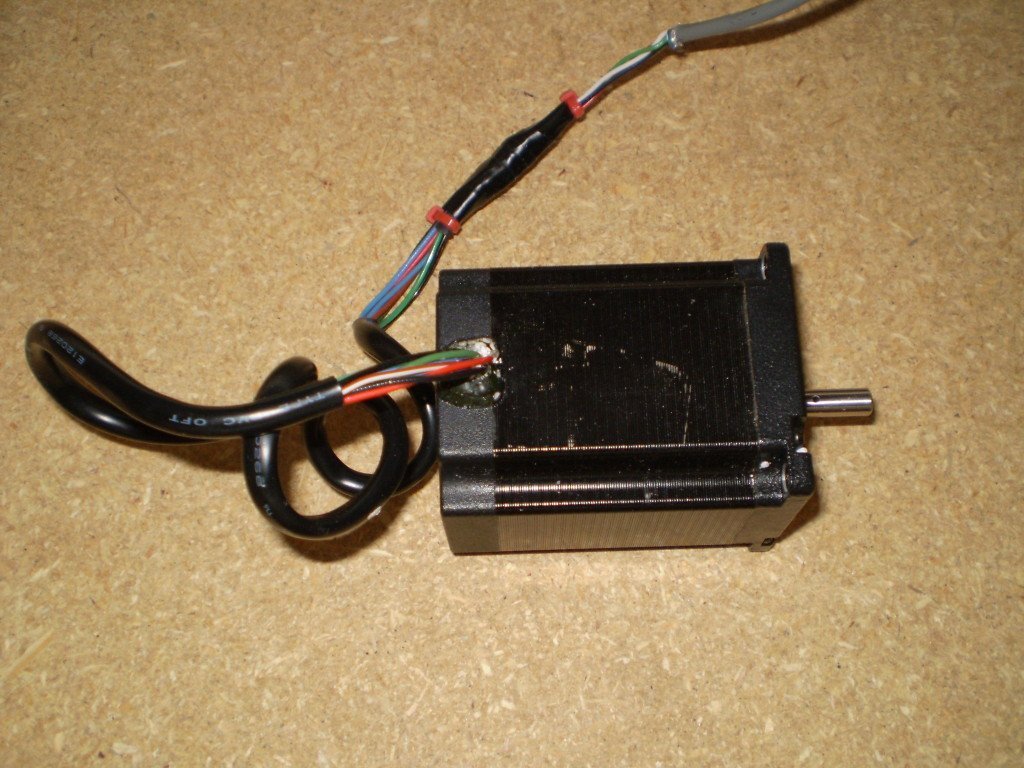
The first thing I decided I needed to do was to wire up and test the surplus motors I bought.  I used  22ga  4 wire security system wire I found out home depot, I used this wire on my two previous machines without any issues.  Using the documentation over at the Lin Engineering site, I was able to easily wire the motors up as bipolar parallel.

Then with a bit of remorse, I reclaimed the electronics from the Rockcliff Mini Model D, removed the extra parts (4th Axis – Probotix side step and MDFLY breakout board) and wired it all up to the remaining Xylotex 3 Axis controller.  After making the necessary changes to the EMC2 configuration, I ran a few quick tests and everything just worked… this is the first time that has ever happened, but I guess 3rd time is a charm after all.
…

New build… Here we go again

It has been a month since I did my first cuts with the new machine, and yet those very cuts were already the start of the next machine.

I started by creating a new cad project and importing all of the pieces that I felt worked from the old project and then began modifying them to eliminate things that did not work as well as I would have liked.  I then proceeded to make a number of changes I thought would make the machine better and easier to assembly.  I think the results are a little mixed, I really like look of the new design, and I think it will be easier to assemble and more sturdy overall, however I nearly doubled the number of cross dowel connections being used which adds complexity to the production and build process.  

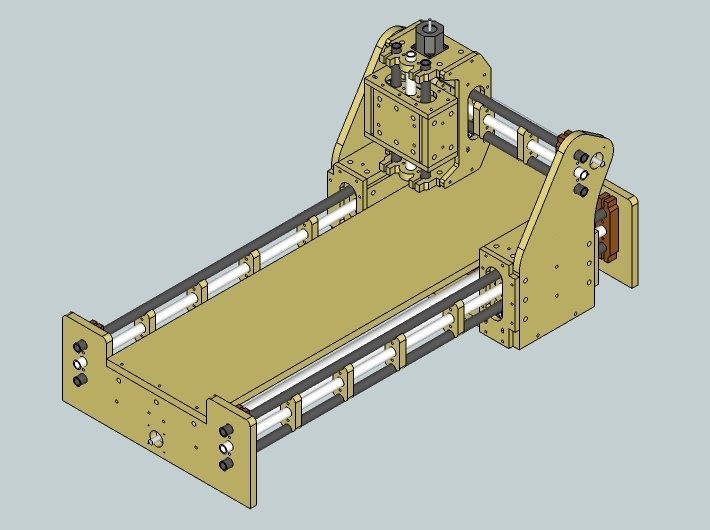
I decided to make another attempt (my 3rd) at using Sketchup to assemble things in 3d to try and catch any errors before I start cutting.  And thanks to a Goggle search which turned up this blog entry:  In Sketchup… How to Import & Trace 2D CAD Drawings, and another 9 months experience playing around with cad programs it actually worked this time.

BSR1v2 - ISO
BSR1v2 – ISO

The machine was designed with a 24″ x 48″ cutting area in mind, but it should be easy to build up to a 24″ x 60″ cutting area (~36″ x ~72″ foot print), the one shown has a 12″ x 36″ cutting area with a foot print of ~24″ x ~48″.

I have also used a combination of the Google SketchUp Web Exporter, Create Image ruby script, and tweaking of the javascript from the web exporter to create a rotatable 3d graphic to show off the machine, please take a look and tell me what you think.

…

One step forward, one step back.

For the most part is has been too cold to work on the machine for the last month or so, so I have not made a lot of progress, and I managed to crack part of the Z axis while testing the machine.

First the good stuff:

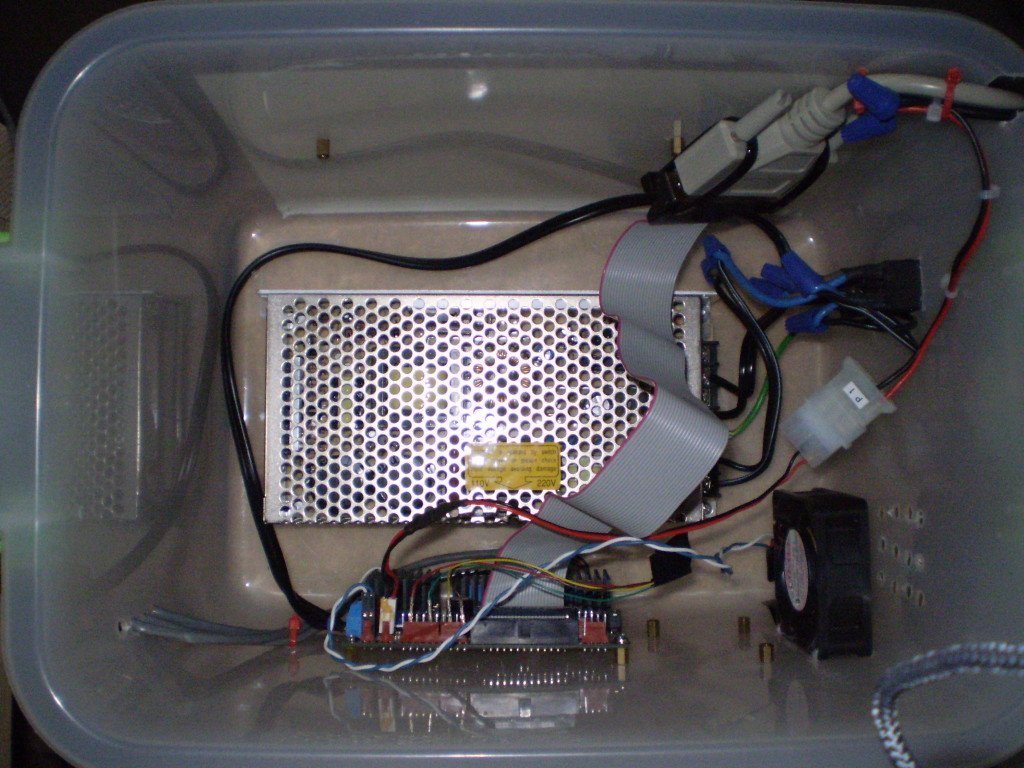
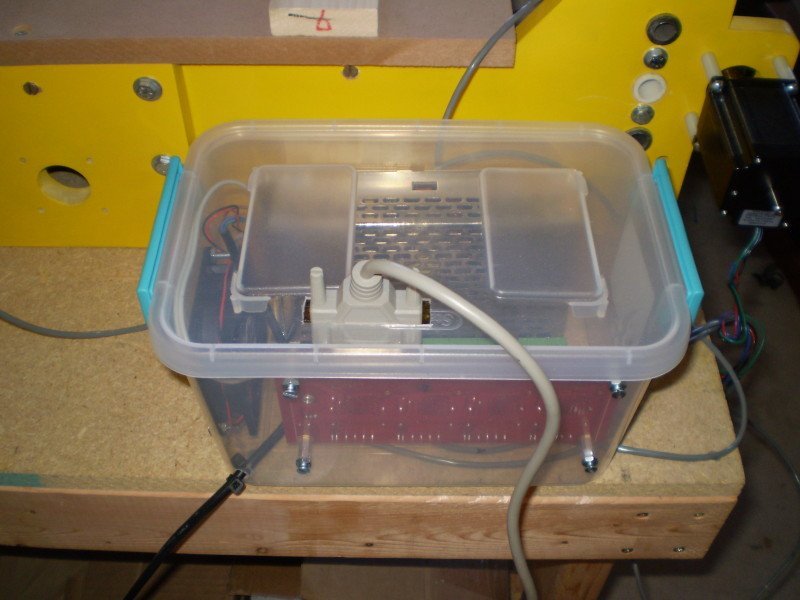
I decided to mount the power supply and electronics in a cheap storage container, which is exactly what I did with my last machine.  I used an x-acto knife instead of a drill this time, and did not any issues with the plastic cracking like I did last time.  However using the x-acto knife to drill this many holes by hand did lead to a couple of good sized blisters, there is a better way I am sure.  This part is pretty much done with the exception of a toggle switch on the power supply AC so I can turn it off without unplugging it.

Case 1
Case 1

…

Welcome

Welcome to the home page of the Grumpy Geek!

Fairly recent picture of me

This is just a place for me to put various things that for some reason or another I want people to have access to.

Scroll to Top
Scroll to Top