I finally got back into the garage to work on the yellow and black beast again and I was able to create the first of four DIY 1/2″-10 ACME lead nuts.
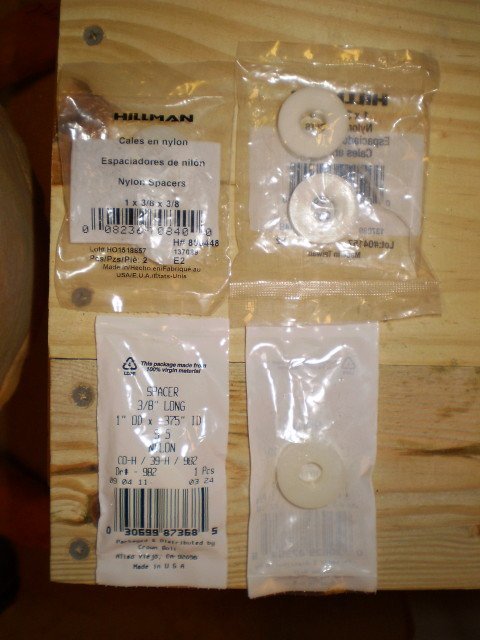
You can find lead nuts starting at ~$7 on ebay, anti-backlash lead nuts from ~$16 from dumpstercnc, and up from places such as roton and other places geared towards commercial customers. I was looking for a cheap solution that I could make myself, and decided to try using some nylon spacers you can find for about 60 cents each at Lowes and Home depot. This did involve buying an 1/2″-10 AMCE Tap, these are not cheap, the best deal I found was on amazon for $35. I could have just bought a cheap set of 4 off of ebay for $28, but I am hoping this will allow me to create them myself and save money on future machines.
The first thing I did was create a jig using my existing machine so I could drill the holes for the necessary screws consistently.
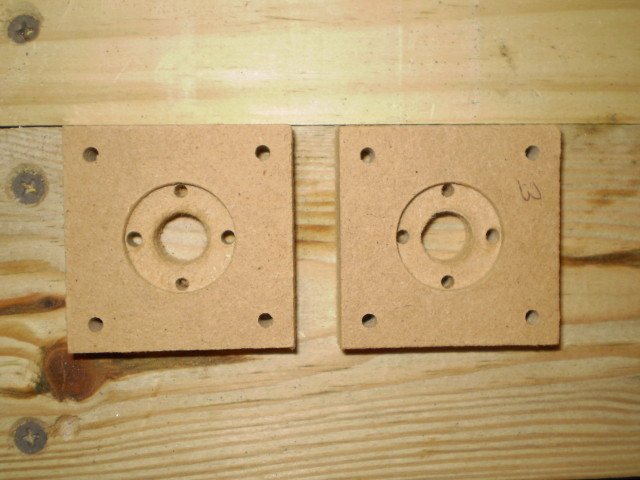
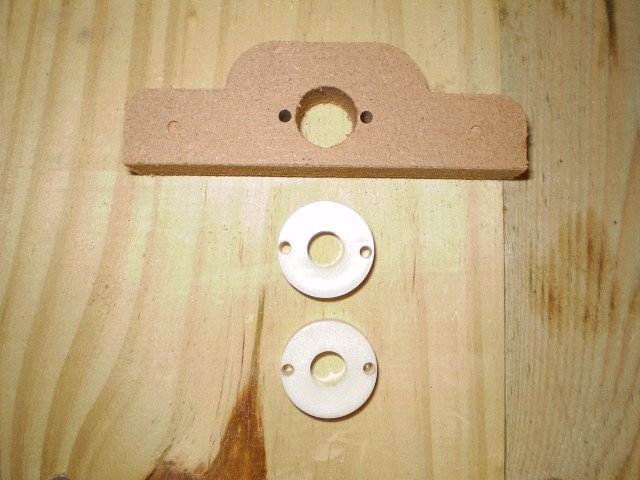
You place the spacer in the jig…
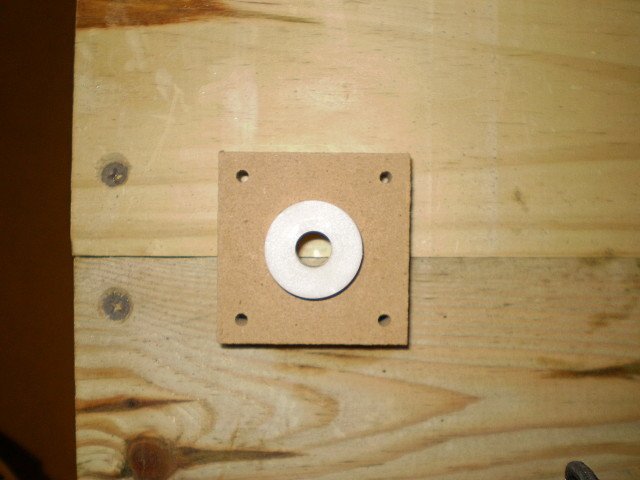
Add the top…
Then tighten the 2 sides together with a few screws and drill 2 of the screw holes using a 1/8″ bit.
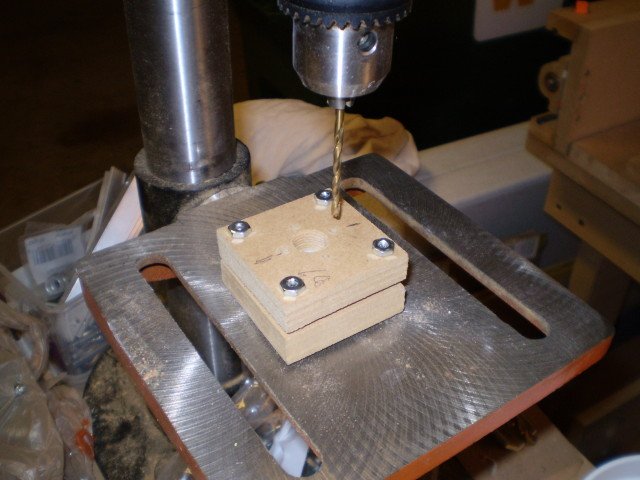
These holes line up perfectly with the screw holes in the lead nut carrier.
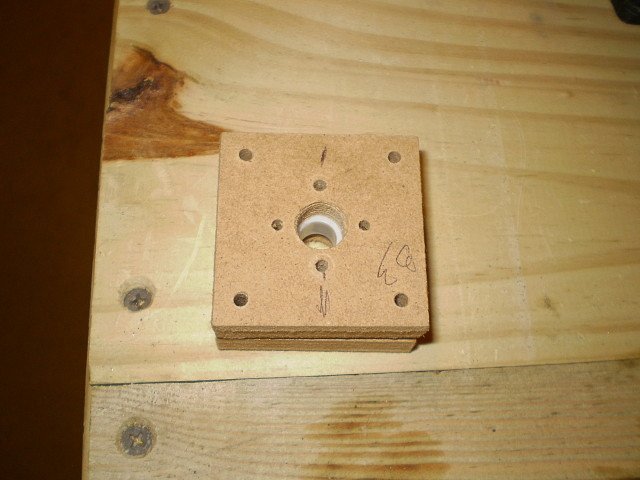
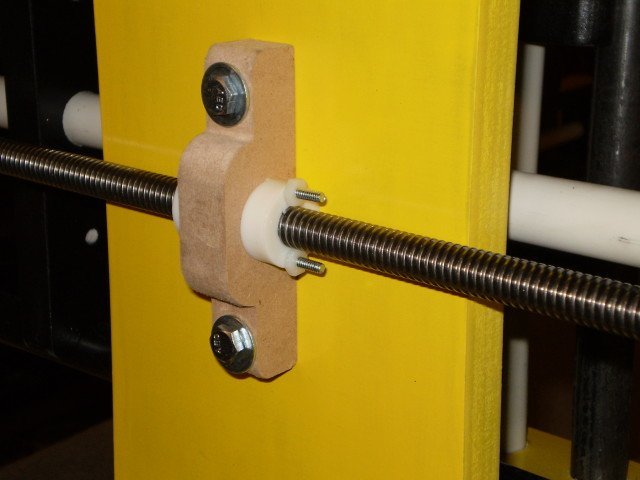
Next the spacers are attached to the lead nut carrier using #6 – 2 inch screws, these pretty much thread themselves thru the 1/8″ holes, and everything fits together nice and tight.
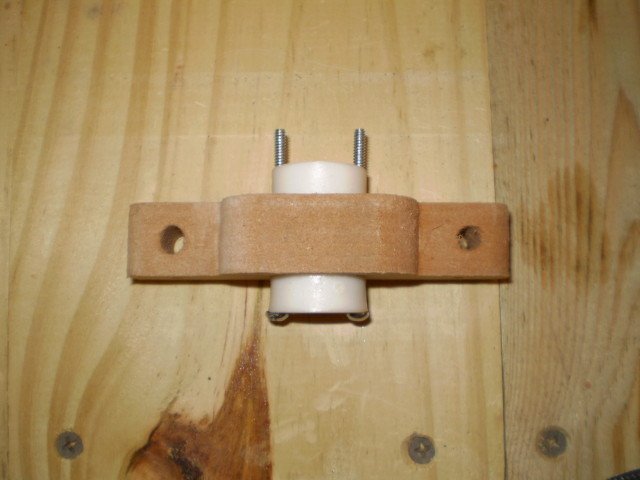
Now we tap the 3/8″ holes in the spacers with the 1/2″-10 ACME tap, by doing this once the spacers are attached to the carrier we ensure that the lead screw will have no issues going thru both spacers smoothly.
I added 2 nylon nuts to ensure everything stays together, but I think these are unnecessary. I used nylon nuts since they are very close to the lead screw, and I didn’t want to take any chances damaging the screw with metal ones. I then attached the lead nut carrier to the X axis assembly using 1/4″ bolts that screw into Tee-nuts that are part of the X axis assembly.
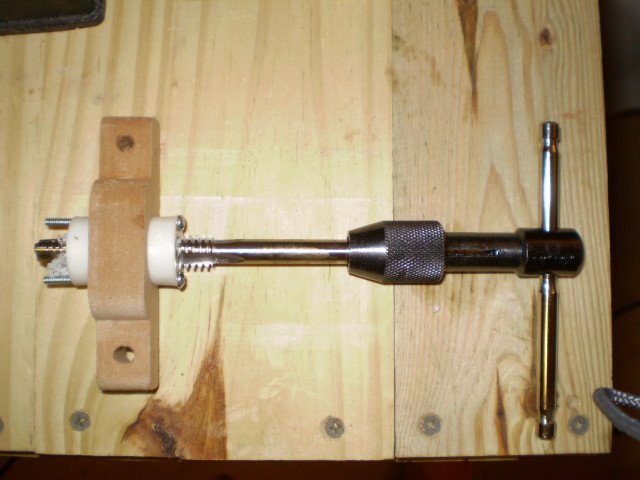
Now we take a step back and say “hey that’s not too bad” 🙂
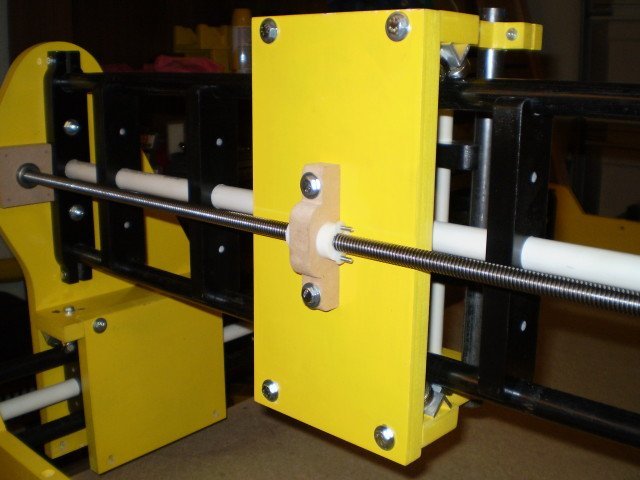
The lead screw turns very easily, and there does not appear to be any appreciable backlash at the moment. If backlash does become an issue, I plan on moving the second spacer out a bit by adding a few additional nuts to adjust for it.
This is my first attempt, it looks like it will work, but I also have some 1.5″ acetal rod waiting for attempt number two if need be. If neither of these work out, or I find myself with a surplus of cash I may end up buying a set from dumpster CNC, but I figure it was worth a try.
I still have to finish assembling the other lead nuts, cut the rest of the bearing blocks (10 of 12), and create the DIY couplings (metal tubes should be here tomorrow I hope), and come up with some sort of support for the 2’x4′ table, then I will be almost finished…
You’re a clever fellow indeed. I have been thinking about making my own lead nuts for my next machine(still haven’t finished my first machine) and they would have been a bit different than yours, however you design is quite nice. I must say there must be a pretty good engineer in you my friend.
One thought, maybe on future versions you could actually tap out the back spacer to accept the #6 bolt. Then it would look a little smoother, maybe even set the top of the screw into the fist nylon spacer, then the bolt/screw wont be hanging out. Of course this is all depending on if you have enough depth in the spacer as I cant see from the pic exactly how thick it is. You can make a tap(in general but expecially) for those little bolts by grinding 1 or 2 flat spots on a bolt and running it through the appropriate size whole. Better than buying a tap set for prototyping. I would never suggest this on anything that will be moving later such as lead nuts, unless you cleaned up the threads really well after grinding your flat spots on them… ok I’m jabbering. Good luck and it looks great!
Kendalli
Thanks, well see how well my engineering holds up :), I do know that I am thoroughly enjoying the process, I just wish I had more time/money to devote to it…. oh course don’t we all.
The spacers are 1″ wide x 3/8″ thick, in order to not interfere with the lead screw I had to put the screw holes very close to the edge which means the nuts stick out a bit from the sides. I may go buy the #6 tap (around $6 I’d imagine) and just tap the spacers like you mentioned, I am fairly sure I could eliminate the nuts then.
I would be interested in seeing what you come up with for lead nuts, for me it is really about looking at what I have on hand or can easily get and bending it to my needs, having the cnc helps this immensely. You are almost done with yours right?
Yea I’m almost done with my machine. I took a 2 week break(so far) from its construction to build my workshop, 12’ x 20’. The exterior is done but it has been so cold lately I don’t want to work on my cnc in the workshop. So I started insulating my workshop walls and I’m going to install some form of heater. Then I’ll get back to my cnc. Had a little hold up anyway, rockcliff sent me a damaged motor so they are replacing that, should be here next week. O btw, I got a cheap tap set for small screws at Harbor Freight for 12 buks, the have metric and standard. I got both sets just to have around. Also if you sign up for their email offers they send you 20% coupons all the time good for any item they sell 😛 http://www.harborfreight.com/cpi/ctaf/displayitem.taf?Itemnumber=39384
I wanna workshop… my car misses the garage, but the HOA might have issues. Thanks for the information on the taps, will head over to the local HF shop and pick up the metric and the SAE sets in the next week or so. I don’t know why I didn’t think to buy full sets there in the first place. I spent at least $30 bucks buying the 4 taps I have (3 now, I broke 2 #6 trying to tap a set screw into a steel 1/4″ threaded rod connector nut), and that would have covered both sets. HF freight stuff is defiantly good enough for hobbyist, I love the digital caliper I bought there, beats trial and error any day 🙂
I have my eye on a digital caliper from there as well, I keep saying the next time it’s on sale… but I always forget to get by there, it’s a little out of my way. I’m a little envious that you got the acme tap so cheap, I can’t find if for less than twice the price you paid 😛 I wouldn’t mind having a nice set of those.
Pingback: grumpygeek.com » Blog Archive » The build goes on…
Pingback: grumpygeek.com » Blog Archive » One step forward, one step back.